TRC Timberworks is now officially a Licensed Residential Builder with BC Housing (formerly Homeowner Protection Office – “HPO”). This means that we can now make it easy for you to build your dream home. On top of the services of…
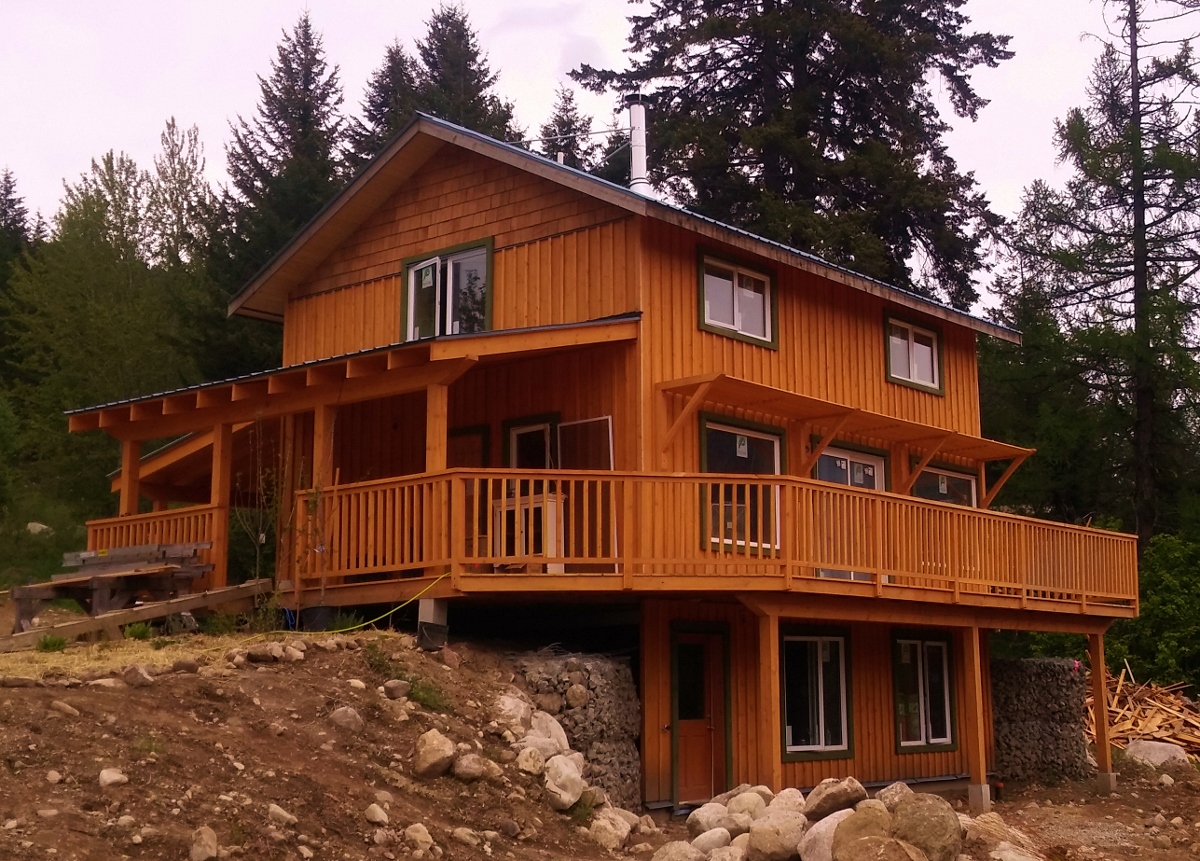

TRC Timberworks is now officially a Licensed Residential Builder with BC Housing (formerly Homeowner Protection Office – “HPO”). This means that we can now make it easy for you to build your dream home. On top of the services of…
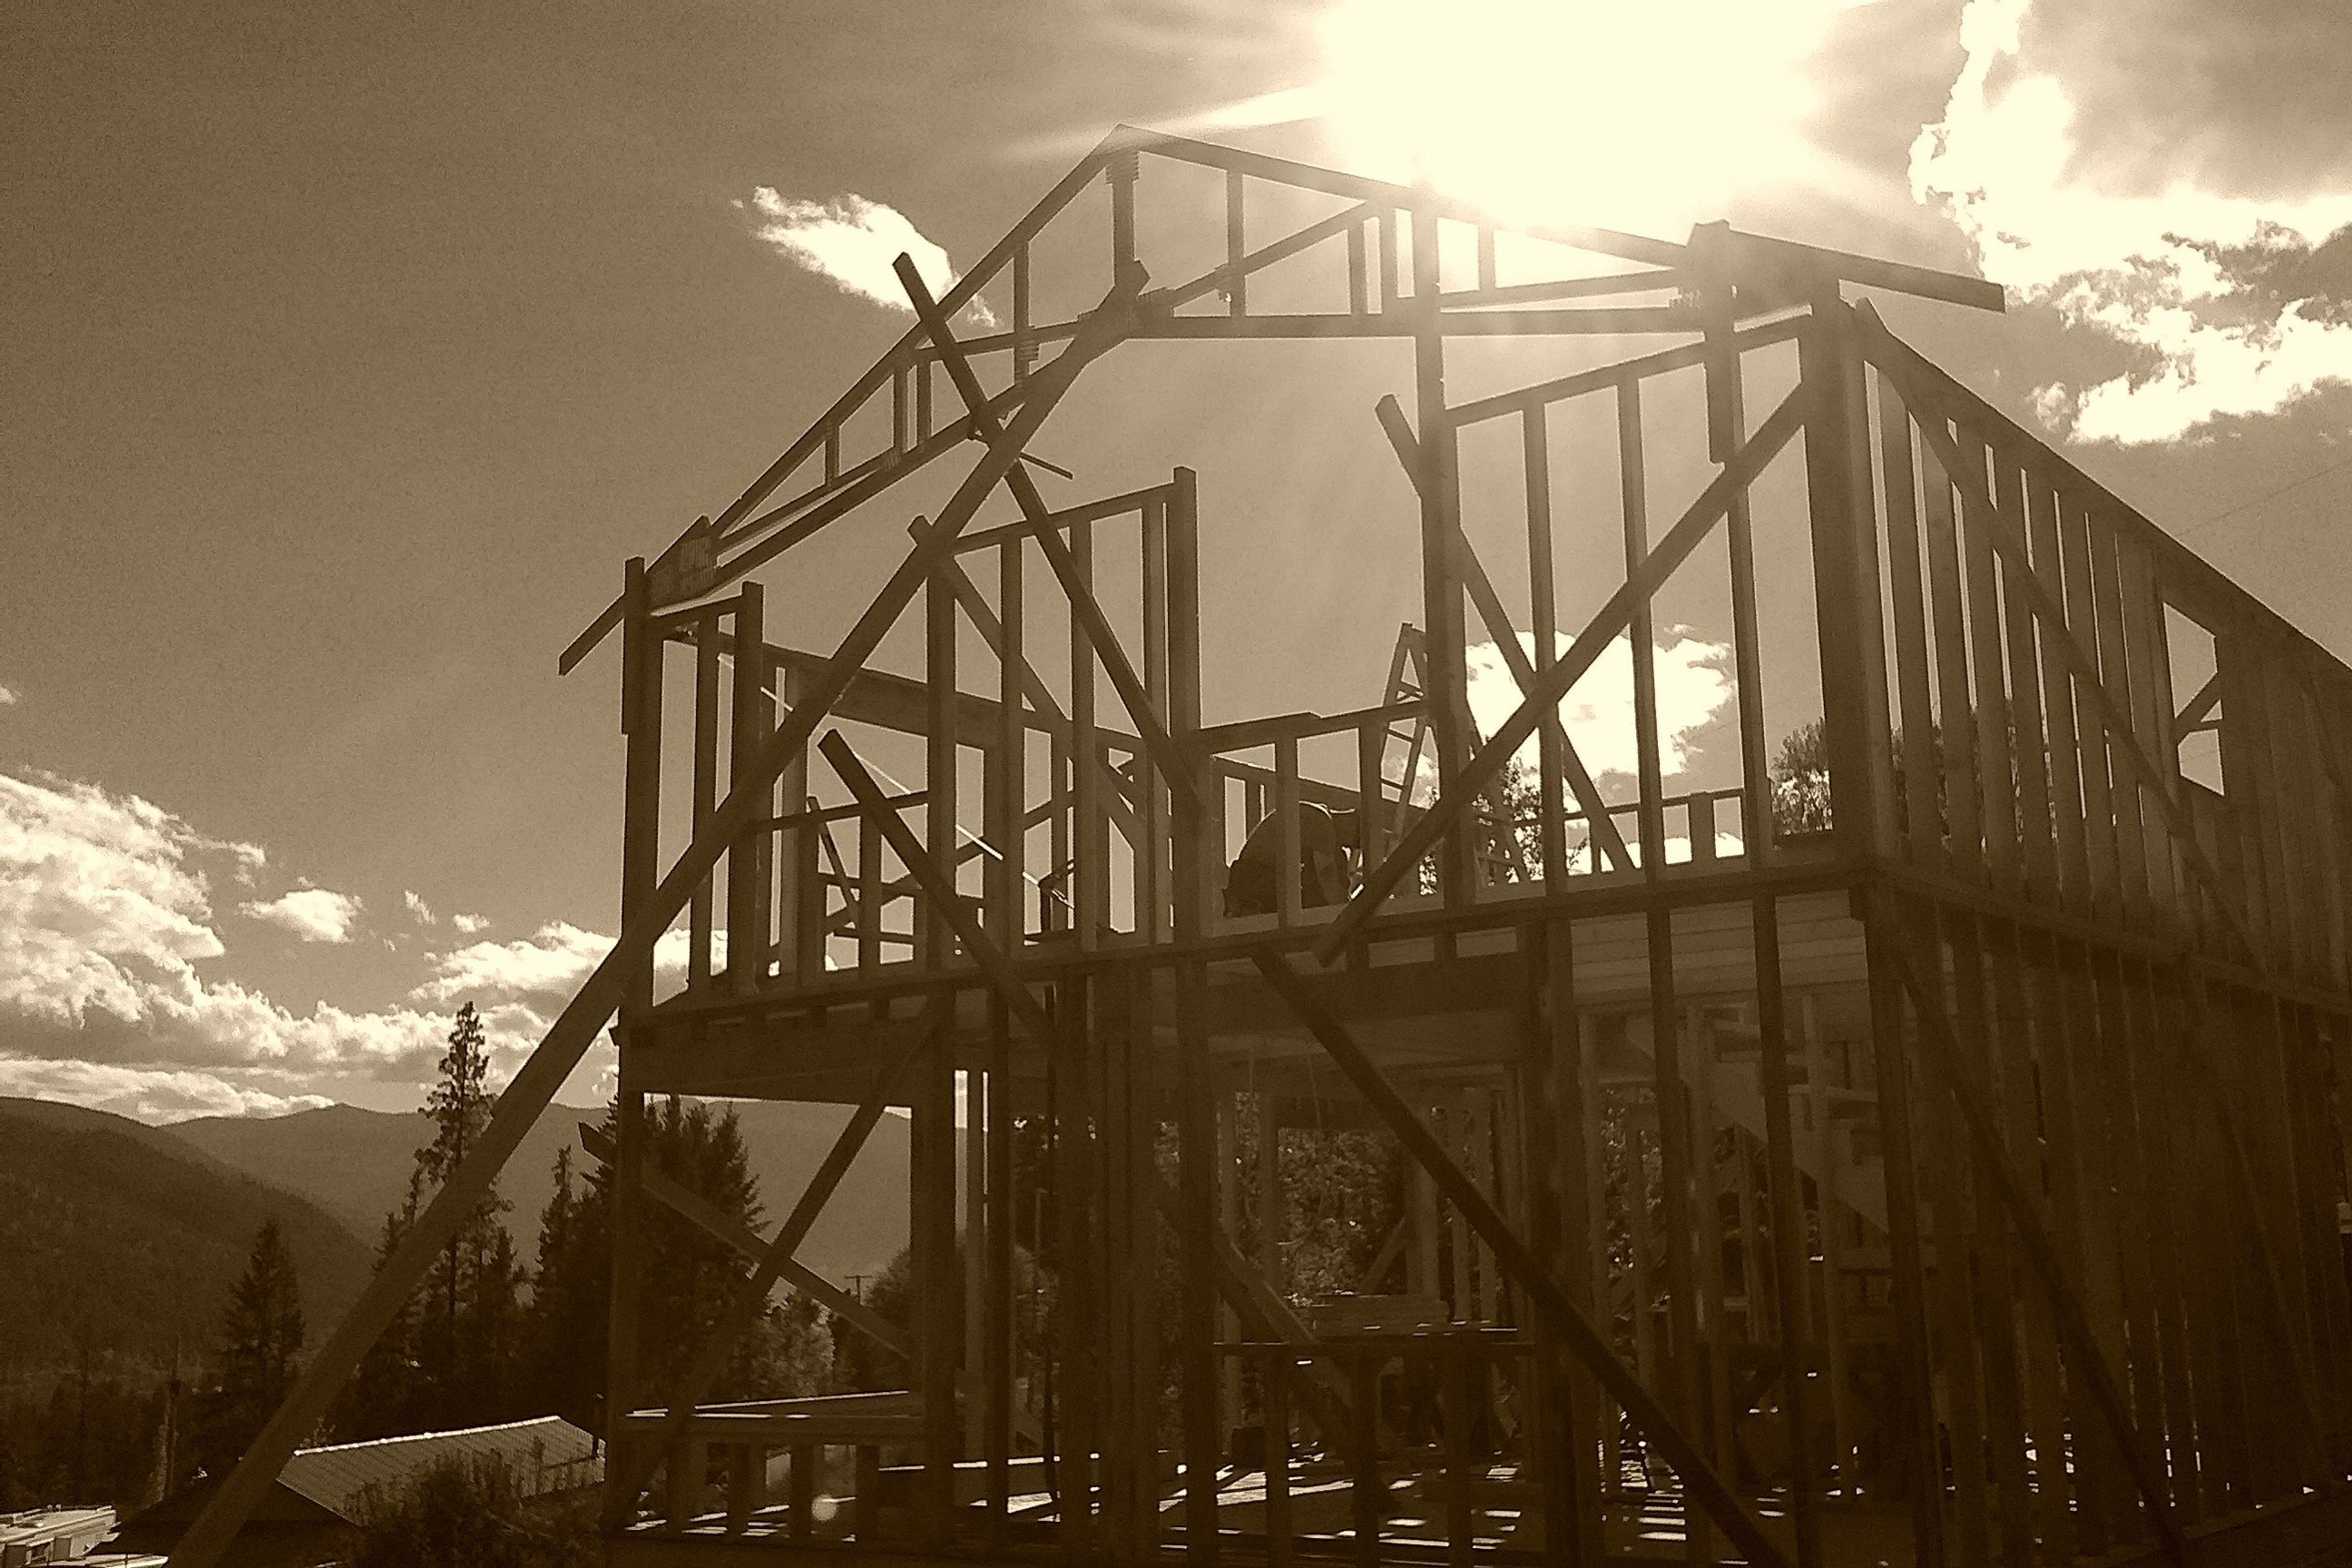
I often think that building a house is similar to the birth of a child. The conception is the time when my clients dream about what type of house they would love to have. They look at websites and read…

Working with rounds is a lot different than working with square timbers. Layout is completely different: working off of chalk lines and carving the rounds down to square posts at the joinery took a lot longer than just working with square…
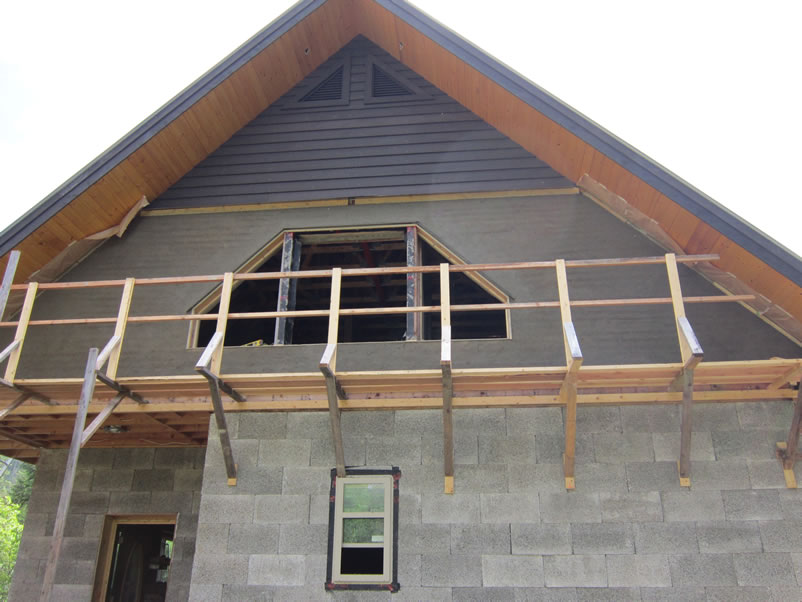
An exterior photo of the body coat of earthen plaster on the woodchip/clay walls, showing the smooth shaping of this coat of plaster on the second storey of the building. The final coat of plaster will be a finish colour coat.
The first storey was built with Durisol blocks. Durisol blocks are a brand of ICF (insulated concrete forms). They are cement bonded wood fibre blocks (similar in shape to cinder blocks), made of ground up post-consumer wood waste, portland cement and a non-compressible rot-proof insulation material such as mineral wool. The blocks are stacked, keeping the insulation part of the blocks to the exterior, and the hollow space that is biased to the interior of the building is filled with concrete to create a stable wall.
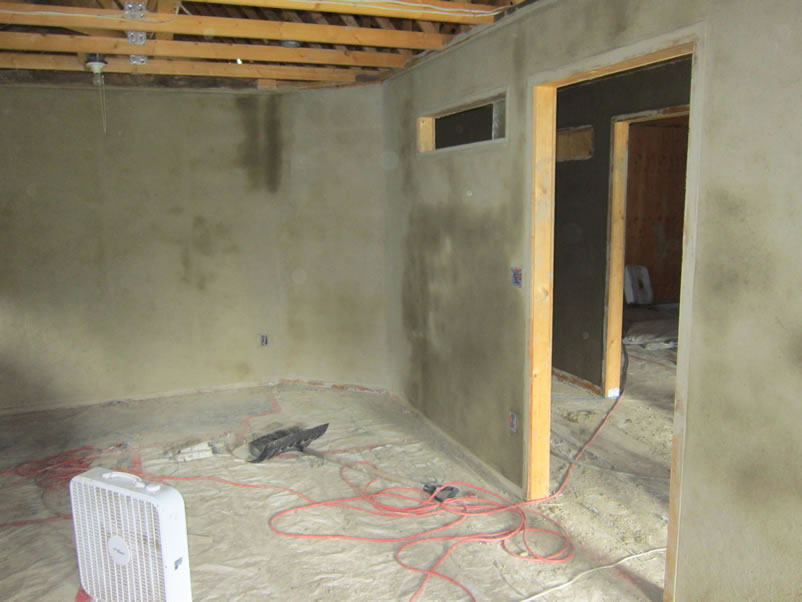
Here is the same project of earthen plaster on woodchip/clay walls. You can see these are interior walls, and the clay plaster is still in the process of drying.
Once the walls are dry, an amazing thing about using clay plaster is that it is hygroscopic, meaning it absorbs excess moisture and releases it slowly, providing a more even moisture content in the air.
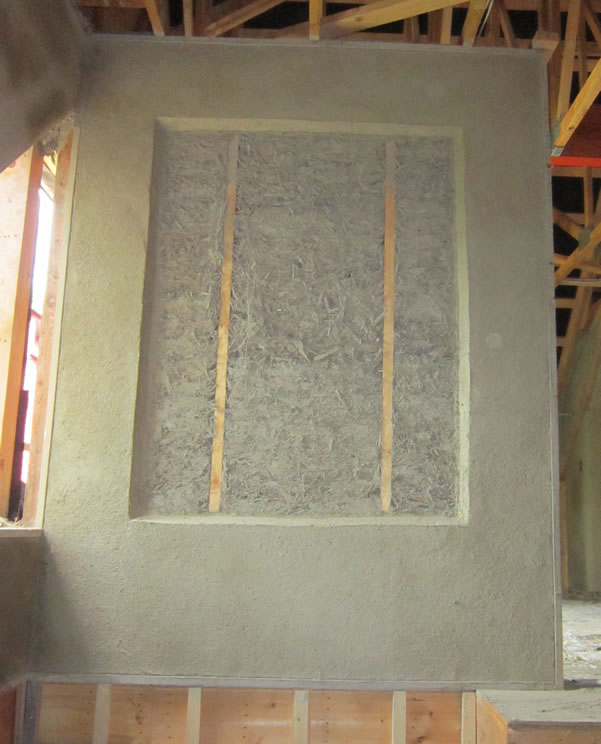
Here is a neat photo of the “truth window” for the clay/fibre walls of this building. It’s a large truth window, showing both the clay/fibre mixture and the internal framing of the wall.
The truth window is located just above the stairwell, so anyone going upstairs in this building will see it at the top of the stairs. For those who can’t believe the inside of these walls are built from wood, clay soil, and woodchips — there is the proof!
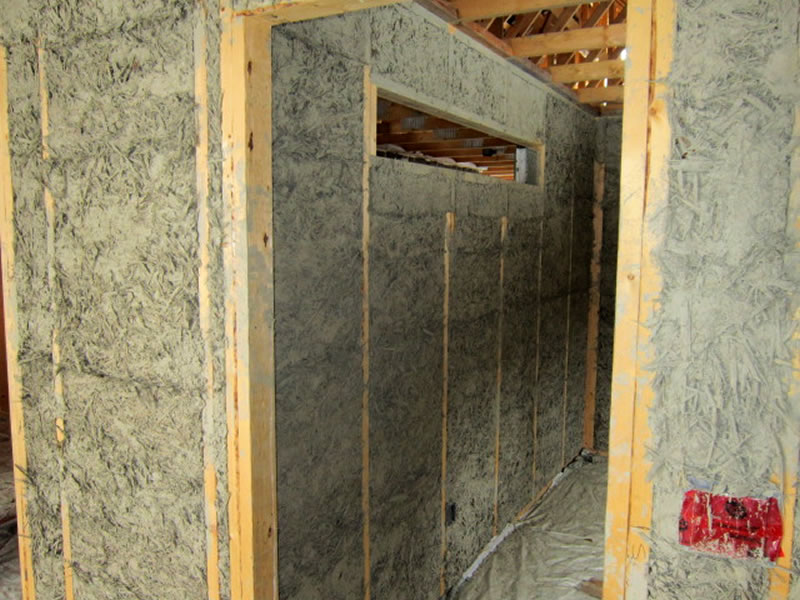
A woodchip clay wall that was made by infilling the woodchip/clay mixture into plywood forms, then removing the forms to allow the wall to dry. This was part of a large project in Winlaw. The infill walls were done two years ago by Cindy Walker and Peggy Frith, and now the homeowners are ready to do the earthen plaster.
This photo shows the interior walls, which are 3.5 inches thick (framed with 2x4s). The exerior walls are 12 inches thick, to provide a much higher level of insulation and thermal mass.
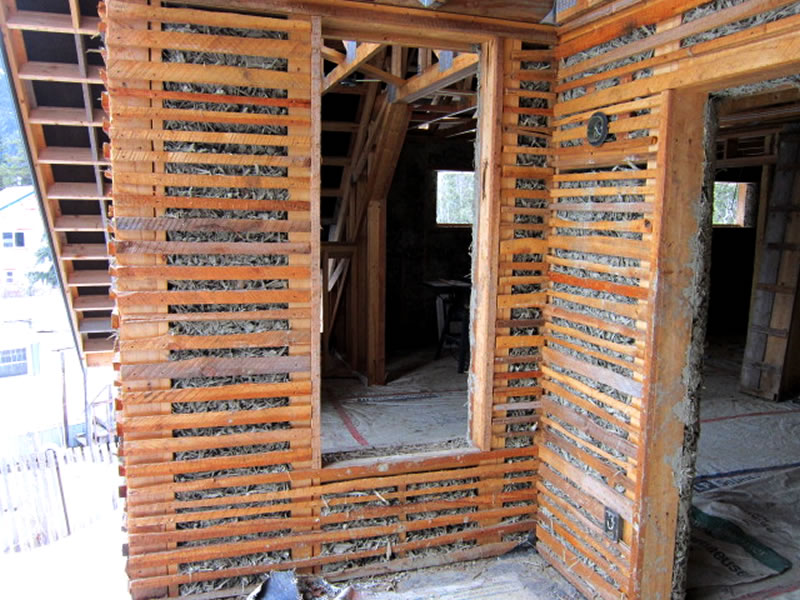
This is a close up photo of one way to build the form work for a woodchip clay wall system. The thin strips of wood (called lath) will keep the woodchip clay mixture in the wall as well as provide a strong foundation for the coat of earthen plaster to adhere to as it is applied to the wall.
Woodchip clay walls systems involve mixing a clay slurry (either clay soil or just clay with water) with woodchips or long wood shavings. Then the mixture is packed loosely into forms, leaving small air pockets as thermal breaks. The wood fibre provides the tensile strength of the mixture and some of the insulating property, and the clay provides thermal mass and moisture content mitigation.
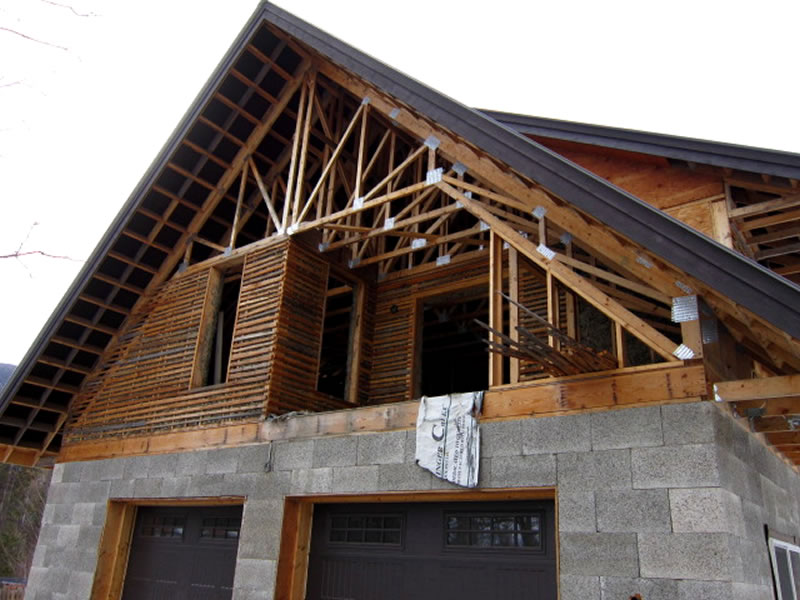
I’m going to be helping finish plaster an office/workshop over the next few weeks. It’s a large structure built with Durisol blocks on the main floor and woodchip/clay infill walls on the second storey.
I wanted to show a few “before” shots of the walls so you can get a sense of a couple of different options for building woodchip/clay walls. The woodchip/clay infill was done by Peggy Frith and Cindy Walker – two amazing natural builders in the Slocan Valley.
Check out the next couple of blogs for close up photos of the infill walls and explanations of the different styles.
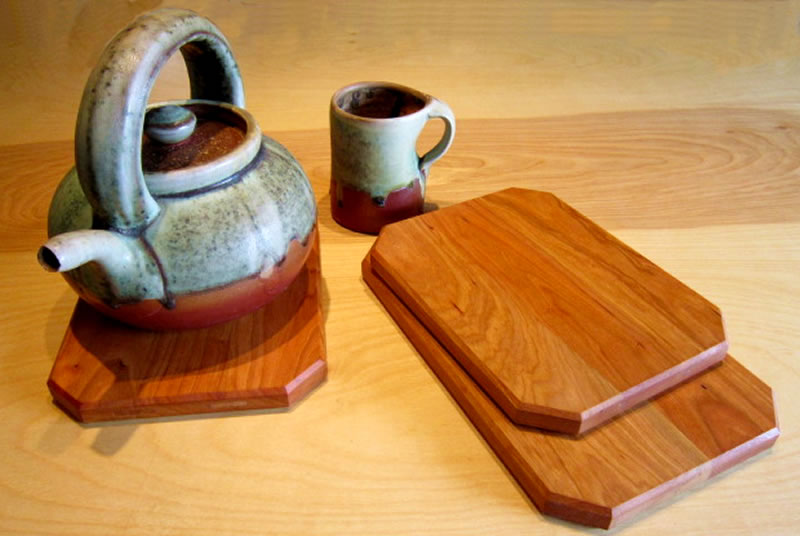
These are some cherry trivets (hot pads) that I played around with for the kitchen. The variations in colour and grain in the cherry wood are very attractive, and having beautiful wood trivets for the tea pot makes having a cup of tea even more appealing. They are coated with two applications of LandArk natural oil finish and one application of food grade beeswax and mineral oil top coat.