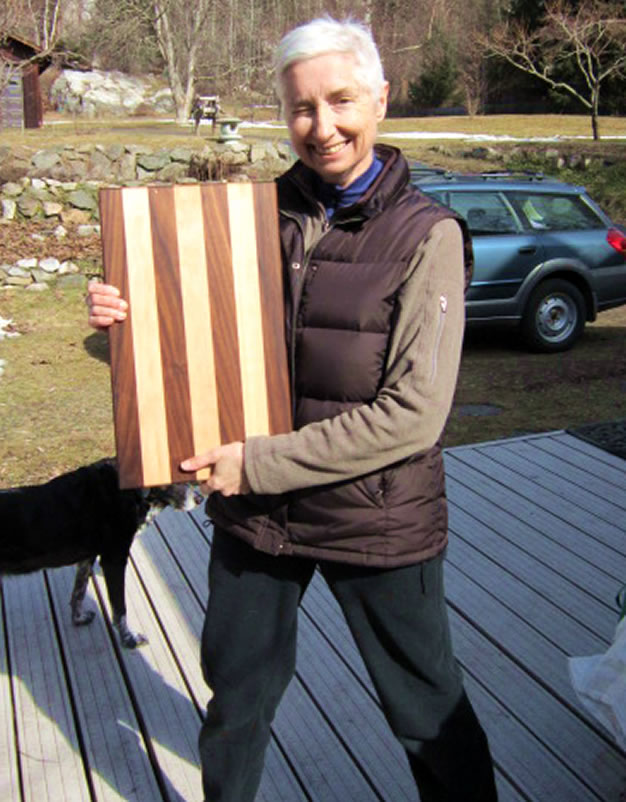
Our five year old son was so excited to help with the draw for the maple & walnut cutting boards that were the draw prize we offered at the Castlegar Home & Lifestyle Expo. He drew the name of the happy winner, and here is a photo. Enjoy them, Deb!
Our five year old son was so excited to help with the draw for the maple & walnut cutting boards that were the draw prize we offered at the Castlegar Home & Lifestyle Expo. He drew the name of the happy winner, and here is a photo. Enjoy them, Deb!
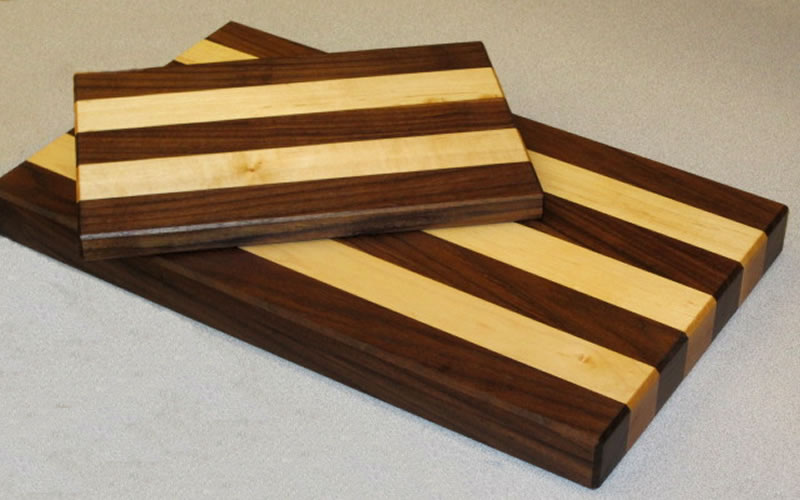
I have been experimenting with using various types of wood together which have different colours and grain patterns. I liked how the colours of the maple and black walnut woods were so striking when alternated with each other, so I decided to make a set of cutting boards in this style.
The small board is light and very portable, useful as a cheese board or for small items. The bigger board I made with thicker pieces of wood to be a sturdy all-purpose cutting board in the kitchen. I was really happy with the result, and so were all the people who entered to win these in the draw I offered at the Castlegar Home Expo!
The cutting boards were finished with food grade hemp oil and beeswax.
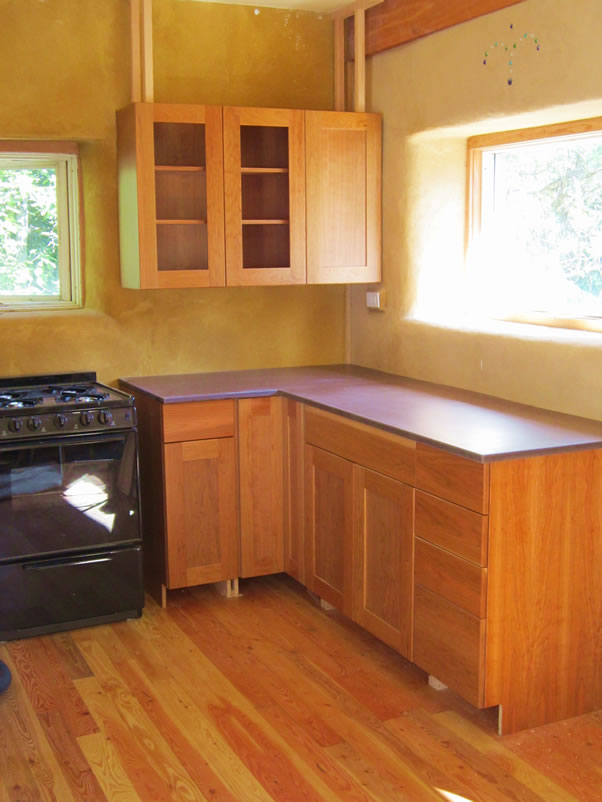
Here is a view of the cabinets installed in this straw bale house in British Columbia. The PaperStone countertop is a polished addition to the cherry cabintery. Although small, the house design optimizes the use of space to create a very comfortable nest for family of three.
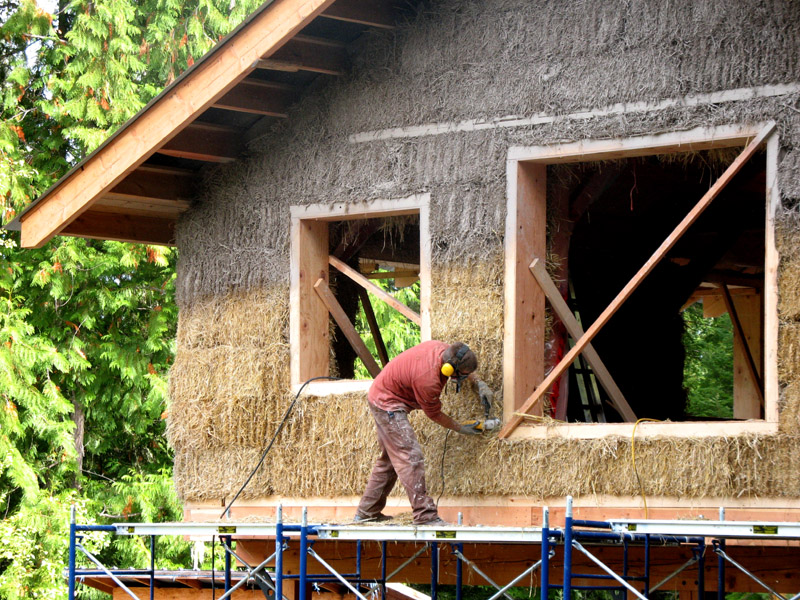
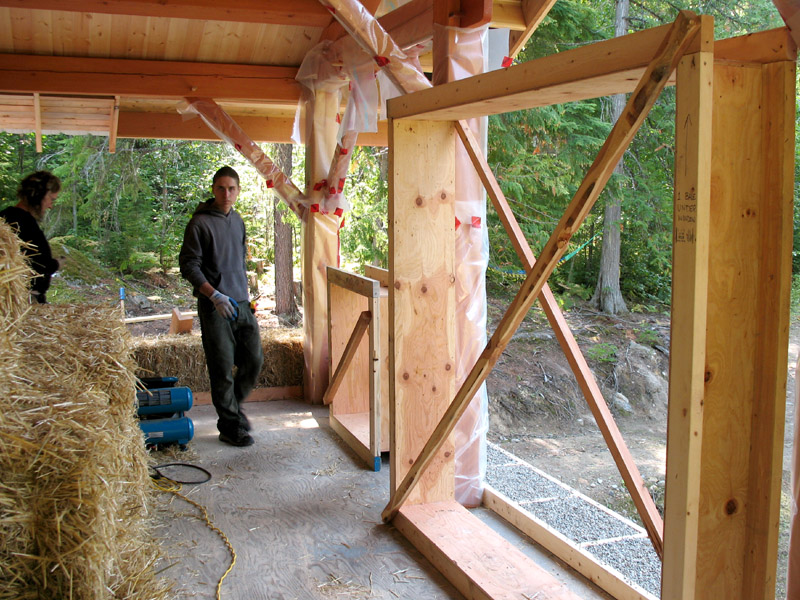
After the baling was done, we shaped the walls using a large weed whacker for rough shaping and the Lancelot for fine detail shaping. Having the bale walls fairly smooth and plumb will make the plastering much easier later on.
It’s possible to achieve beautiful finish plaster on top of undulating bale walls, but it is a lot more work and uses a lot more plaster, which involves extra labour and cost. No one wants that. It’s much better to take the time to even out rough spots on the wall at this stage.
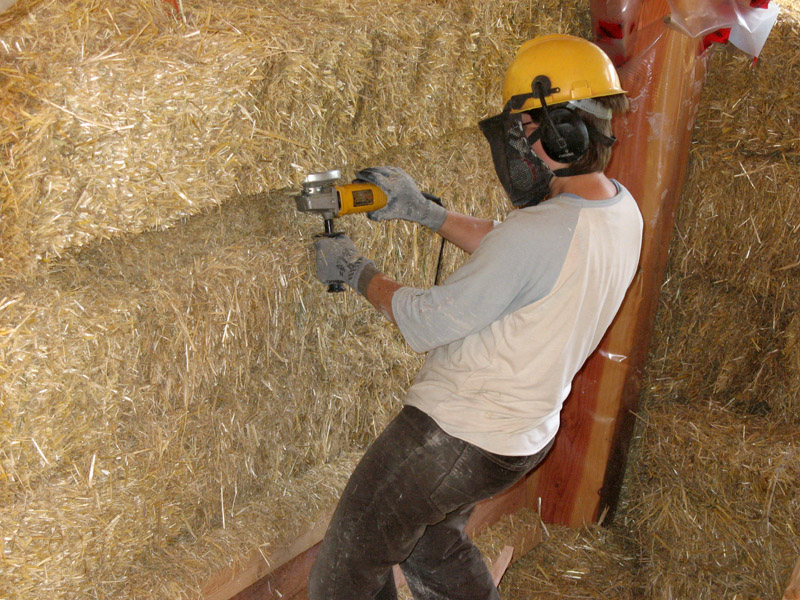
Here is Raina using a Lancelot tool on a bale wall. Notice the important safety helmet and earmuffs. Good job, Raina!
The Lancelot is actually a small chain saw, so it’s not a joke about using safety gear. These are great tools for carving out channels in the bales for electrical wiring or for installing I-beams.
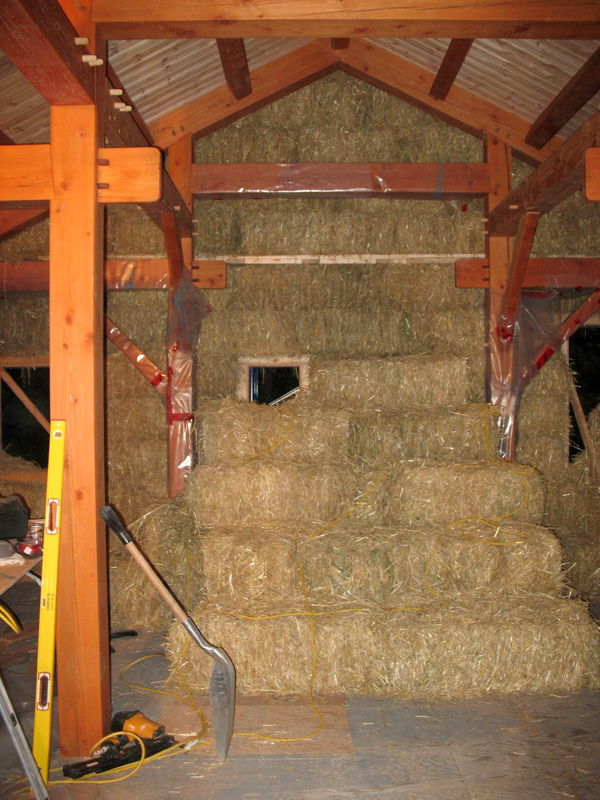
A standard wall consists of bales stacked seven courses high. Going any higher than this requires extra stabilizing measures to ensure that the wall will not bow.
The peaks of the gable ends in this house ended up being eleven courses high, so we built a wooden I-beam and installed it on top of the seventh course, securely attaching it to the timber frame structure. We then stacked the bales in the triangle of the gable on top of this I-beam, which added the necessary structural rigidity to that section of the wall.
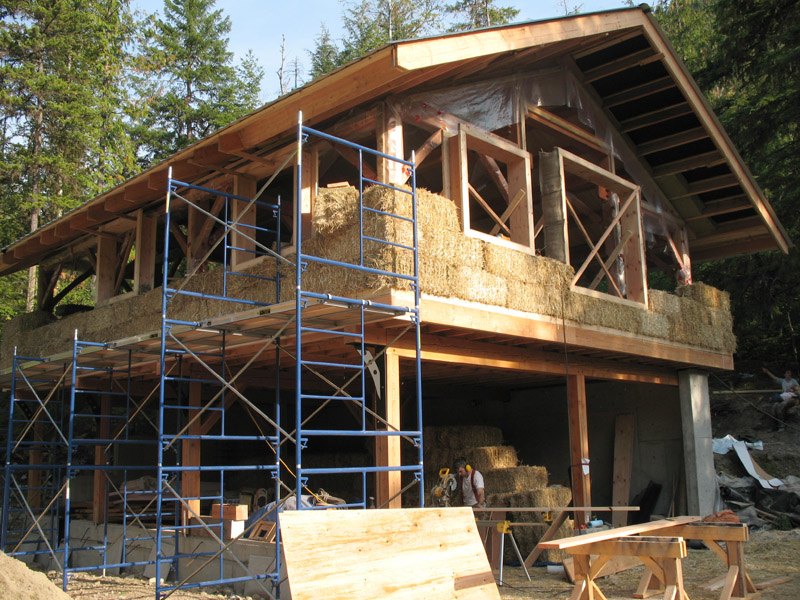
Oh, the joy of stacking bales! It goes so quickly at this stage that everyone in a work party gets excited and everything flows really well. Getting a good system going to ensure there are people busy on each wall as well as a few people making custom bales for around window or door bucks is important to keep up this fast pace.
The work party on this part of the baling consisted of about 5 to 10 people at any time of the day, and the main part of the baling was done in about a day and a half.
The bales are stacked starting with the entire first course (row), going all the way around the perimeter of the building. This is the beginning of the exciting part, as all the preparations begin to pay off and you see results a lot more quickly.
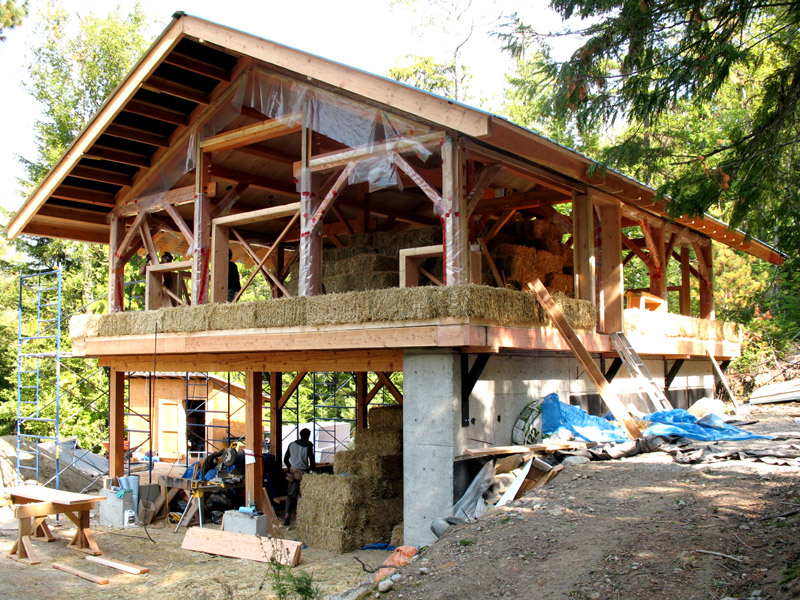
The bales are placed tightly together, and custom sized bales are tied for the areas next to window or door bucks where the dimensions do not exactly fit the length of a bale. Ensuring that all the people who are stacking bales are maintaining a uniform standard of placement also makes it much easier to shape and finish the walls later on for the plaster stage.
The placement heights of windows can be determined ahead of time in the design of the plans, although the nature of bale building means that the most efficient height placement of windows follows the heights of courses (rows) of bales. This way, fewer labour-intensive custom sized bales need to be made.
If you know ahead of time the size of the straw bales you will be using, this can be factored into the design plans. But if bales are sourced after plans are drawn and end up being a different height, slight adjustments in window heights may be useful to ensure a faster baling process.

It’s exciting to start stacking the bales, and taking the time to pay attention to the preparations for baling ensures that the whole project will be a success.
The second floor of this house is to have straw bale insulation, and a proper foundation for the bales is vital to keep out unwanted critters and ensure moisture drains out of the wall in the rare event that water enters due to extreme weather or a roof leakage.