After the baling was done, we shaped the walls using a large weed whacker for rough shaping and the Lancelot for fine detail shaping. Having the bale walls fairly smooth and plumb will make the plastering much easier later on.
It’s possible to achieve beautiful finish plaster on top of undulating bale walls, but it is a lot more work and uses a lot more plaster, which involves extra labour and cost. No one wants that. It’s much better to take the time to even out rough spots on the wall at this stage.
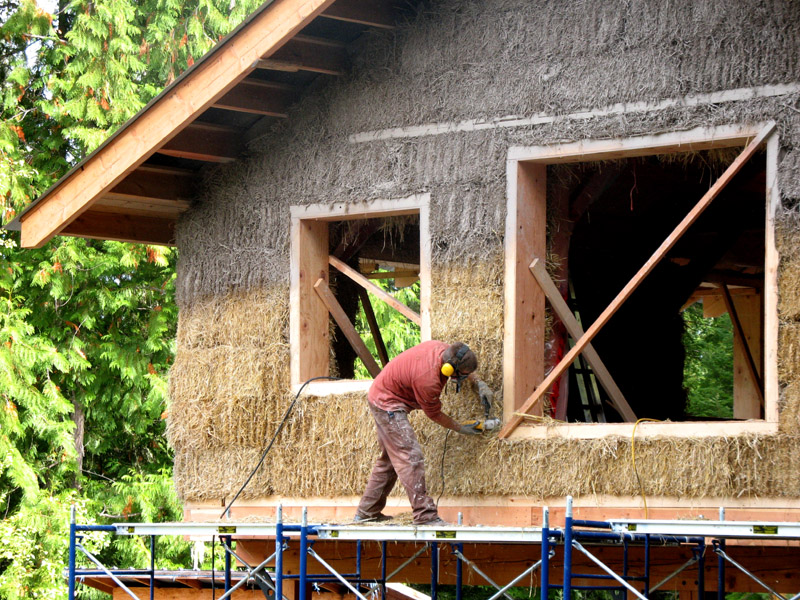
Next step was applying clay slip to the walls, which was done with a hopper and spray nozzle. You can see in the picture that Tim is using the Lancelot on a spot near the window buck, and the top half of the wall has already been sprayed with clay slip (a clay and water mixture).
The sprayed clay slip penetrates into the bales and will provide the initial weather proofing for the bales until the plastering gets underway. From here, a rough plaster can be applied by hand and then a finish plaster.
Or if the budget is very tight on a project, a rough plaster can be hard troweled to a relatively smooth finish without needing the finish plaster coat. Some people have commented that they love the look of the natural clay colour. However, if you go this route, you need to ensure that your roof overhangs are large enough to keep the rain and snow off of your rough plaster, as the finish plaster or lime render are designed to increase the ability of your walls to withstand extreme weather conditions. And of course, at any time, a lime render or a coloured finish plaster can be applied to the walls.

