Tag: Insulation

Exterior Earthen Plaster

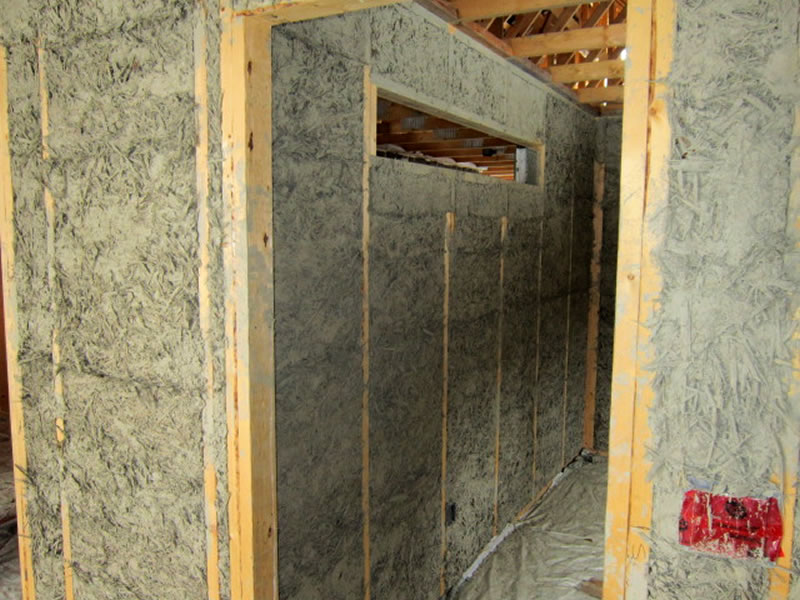
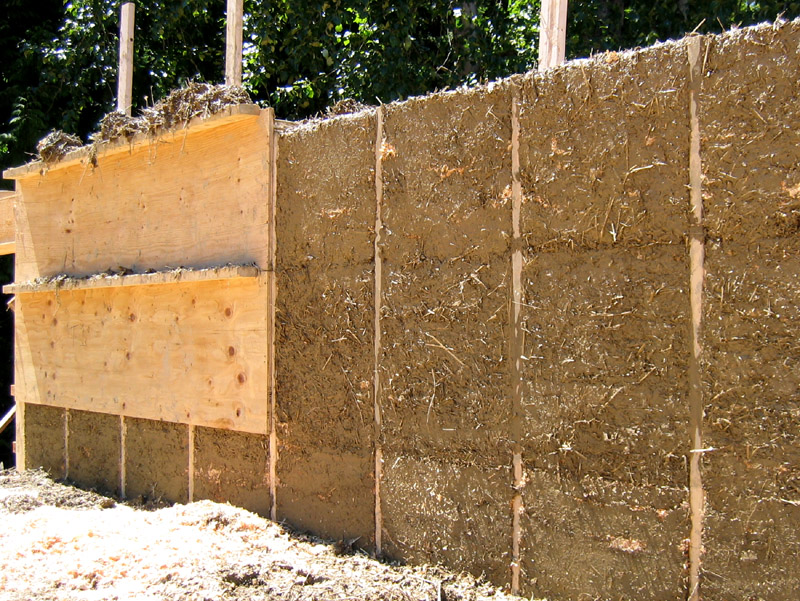
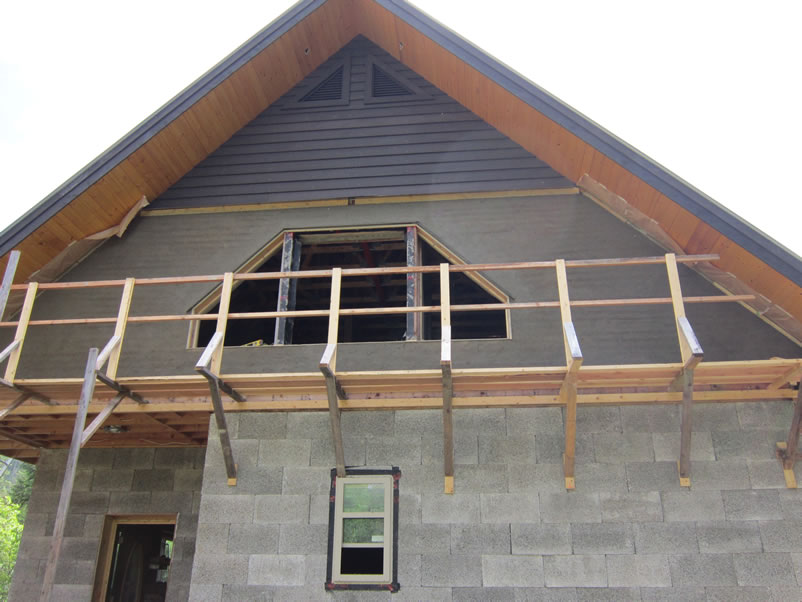
An exterior photo of the body coat of earthen plaster on the woodchip/clay walls, showing the smooth shaping of this coat of plaster on the second storey of the building. The final coat of plaster will be a finish colour coat.

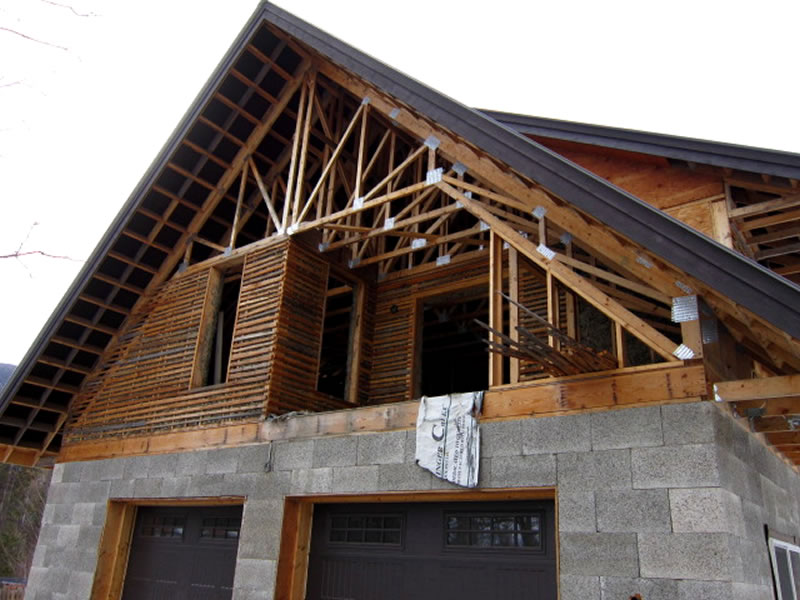
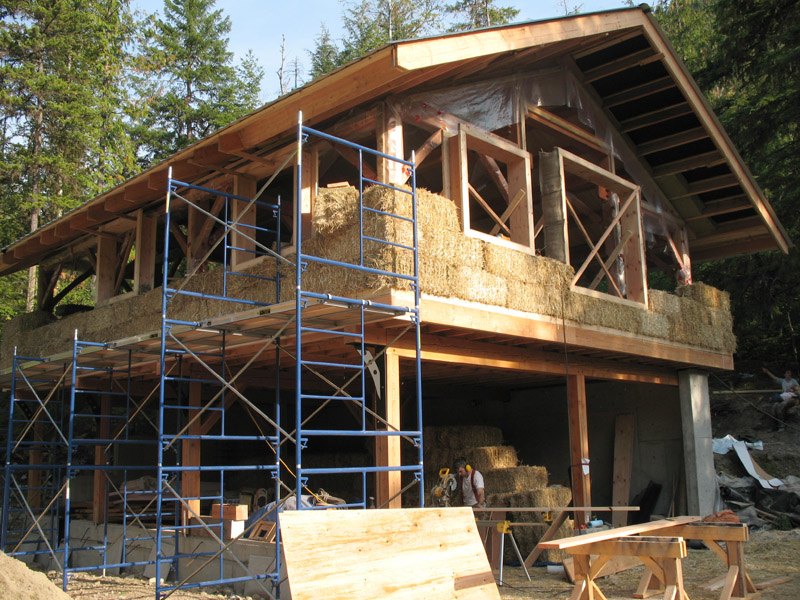
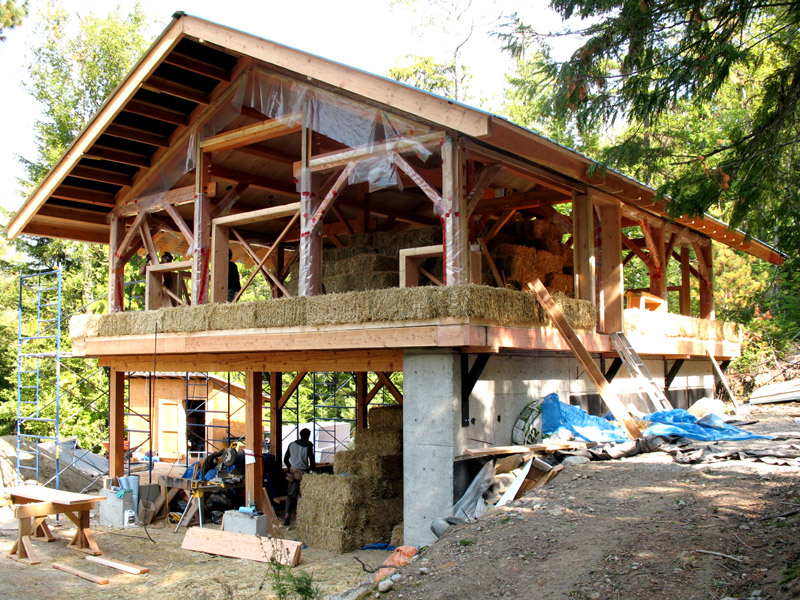
The first storey was built with Durisol blocks. Durisol blocks are a brand of ICF (insulated concrete forms). They are cement bonded wood fibre blocks (similar in shape to cinder blocks), made of ground up post-consumer wood waste, portland cement and a non-compressible rot-proof insulation material such as mineral wool. The blocks are stacked, keeping the insulation part of the blocks to the exterior, and the hollow space that is biased to the interior of the building is filled with concrete to create a stable wall.

learn more

Woodchip Clay Using Forms

A woodchip clay wall that was made by infilling the woodchip/clay mixture into plywood forms, then removing the forms to allow the wall to dry. This was part of a large project in Winlaw. The infill walls were done two years ago by Cindy Walker and Peggy Frith, and now the homeowners are ready to do the earthen plaster.

This photo shows the interior walls, which are 3.5 inches thick (framed with 2x4s). The exerior walls are 12 inches thick, to provide a much higher level of insulation and thermal mass.

learn more

Woodchip Clay Lath

This is a close up photo of one way to build the form work for a woodchip clay wall system. The thin strips of wood (called lath) will keep the woodchip clay mixture in the wall as well as provide a strong foundation for the coat of earthen plaster to adhere to as it is applied to the wall.

Woodchip clay walls systems involve mixing a clay slurry (either clay soil or just clay with water) with woodchips or long wood shavings. Then the mixture is packed loosely into forms, leaving small air pockets as thermal breaks. The wood fibre provides the tensile strength of the mixture and some of the insulating property, and the clay provides thermal mass and moisture content mitigation.

learn more

Natural Plastering Project June 2012

I’m going to be helping finish plaster an office/workshop over the next few weeks. It’s a large structure built with Durisol blocks on the main floor and woodchip/clay infill walls on the second storey.

I wanted to show a few “before” shots of the walls so you can get a sense of a couple of different options for building woodchip/clay walls. The woodchip/clay infill was done by Peggy Frith and Cindy Walker – two amazing natural builders in the Slocan Valley.

Check out the next couple of blogs for close up photos of the infill walls and explanations of the different styles.

learn more

Finished Stacking

A standard wall consists of bales stacked seven courses high. Going any higher than this requires extra stabilizing measures to ensure that the wall will not bow.

The peaks of the gable ends in this house ended up being eleven courses high, so we built a wooden I-beam and installed it on top of the seventh course, securely attaching it to the timber frame structure. We then stacked the bales in the triangle of the gable on top of this I-beam, which added the necessary structural rigidity to that section of the wall.

learn more

Stacking the Bales

Oh, the joy of stacking bales! It goes so quickly at this stage that everyone in a work party gets excited and everything flows really well. Getting a good system going to ensure there are people busy on each wall as well as a few people making custom bales for around window or door bucks is important to keep up this fast pace.

The work party on this part of the baling consisted of about 5 to 10 people at any time of the day, and the main part of the baling was done in about a day and a half.

learn more

First Course of Bales

The bales are stacked starting with the entire first course (row), going all the way around the perimeter of the building. This is the beginning of the exciting part, as all the preparations begin to pay off and you see results a lot more quickly.

The bales are placed tightly together, and custom sized bales are tied for the areas next to window or door bucks where the dimensions do not exactly fit the length of a bale. Ensuring that all the people who are stacking bales are maintaining a uniform standard of placement also makes it much easier to shape and finish the walls later on for the plaster stage.

learn more

EH