After helping build this client’s kitchen with Juniper Joinery, she wanted an island to add a little more work space. Because the kitchen was too small to accommodate a full-sized island, I came up with this option. The top measures 33″…
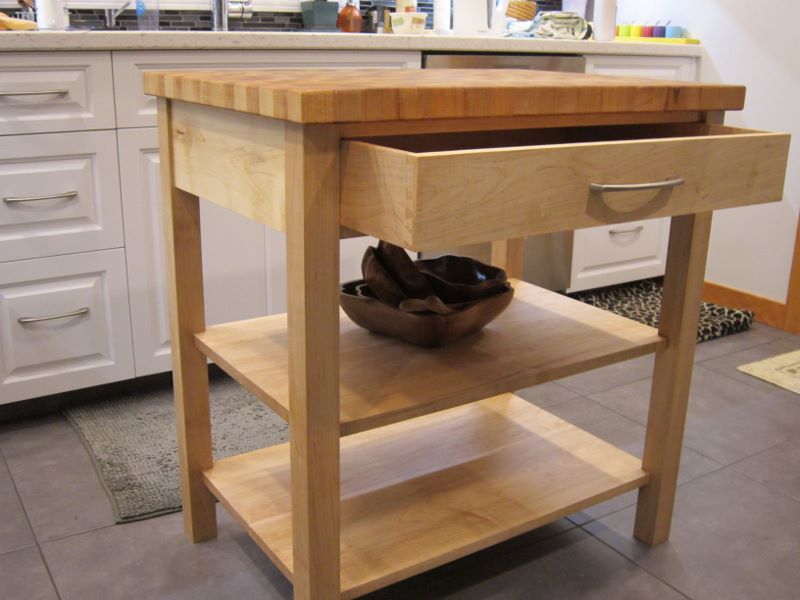

After helping build this client’s kitchen with Juniper Joinery, she wanted an island to add a little more work space. Because the kitchen was too small to accommodate a full-sized island, I came up with this option. The top measures 33″…
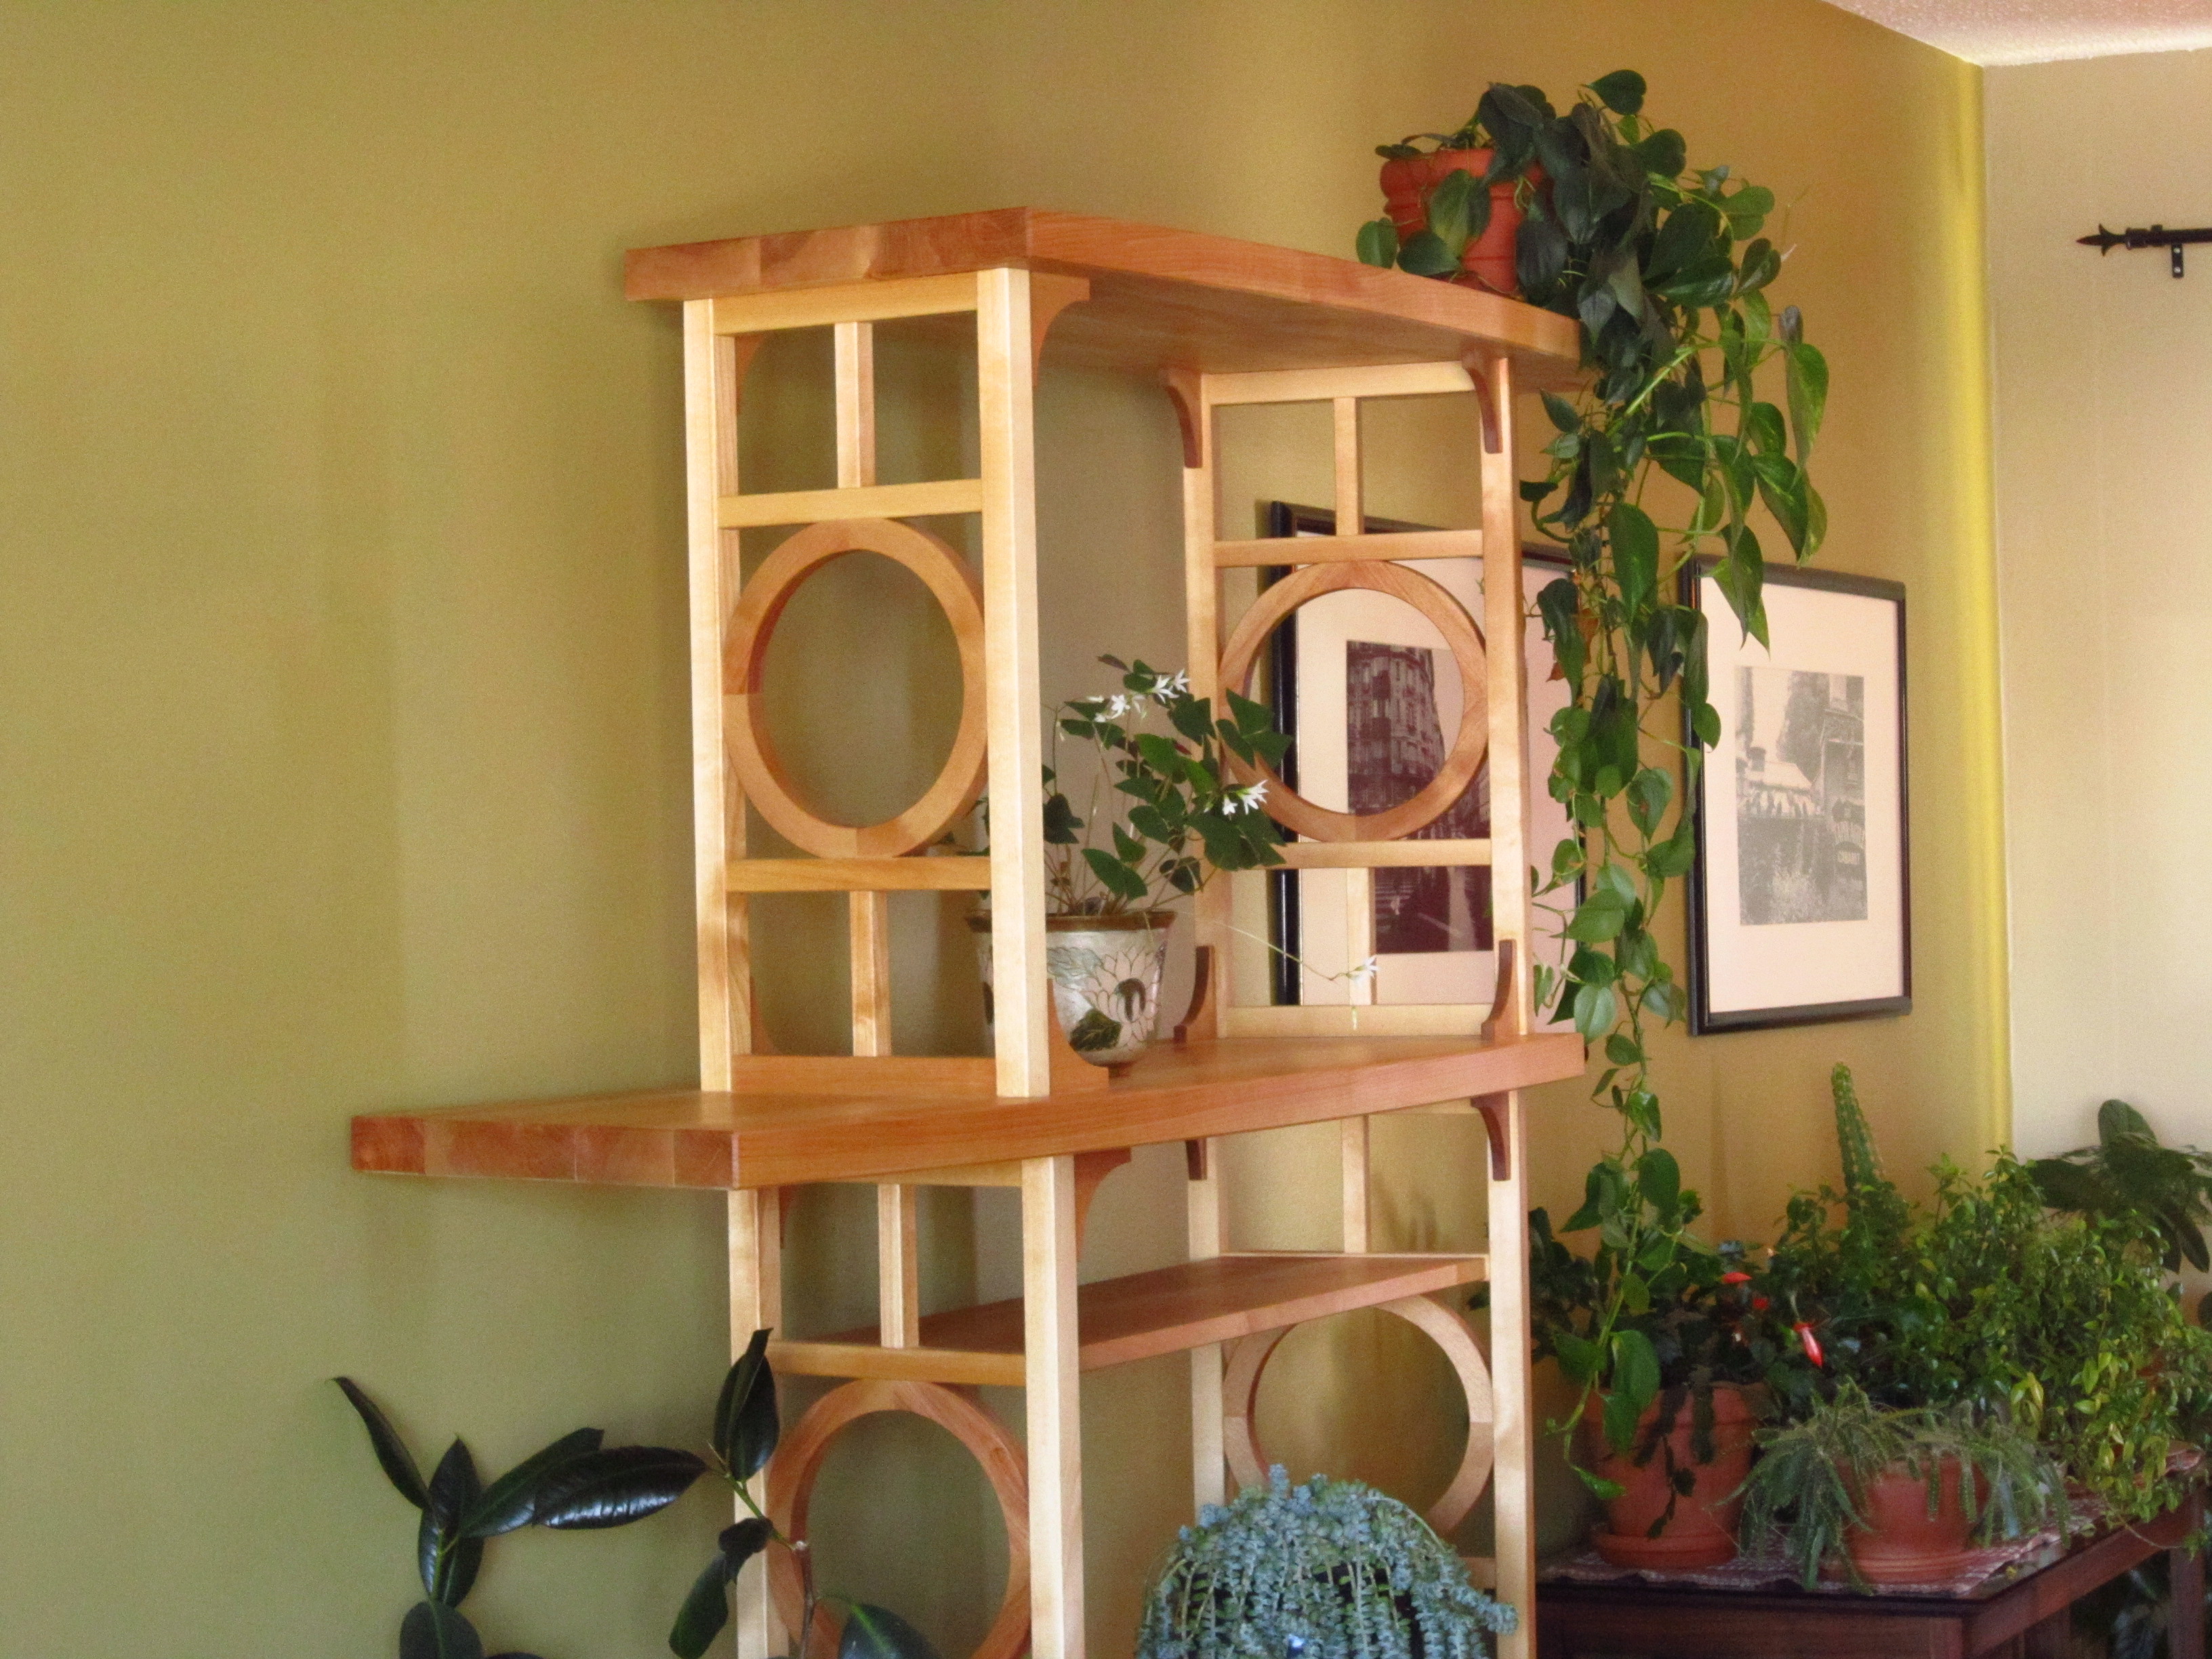
Last winter I designed and built a custom plant stand for a customer in Calgary, Alberta. The request was for a piece of furniture inspired by a Japanese garden gate that could hold a number of plants and be a…
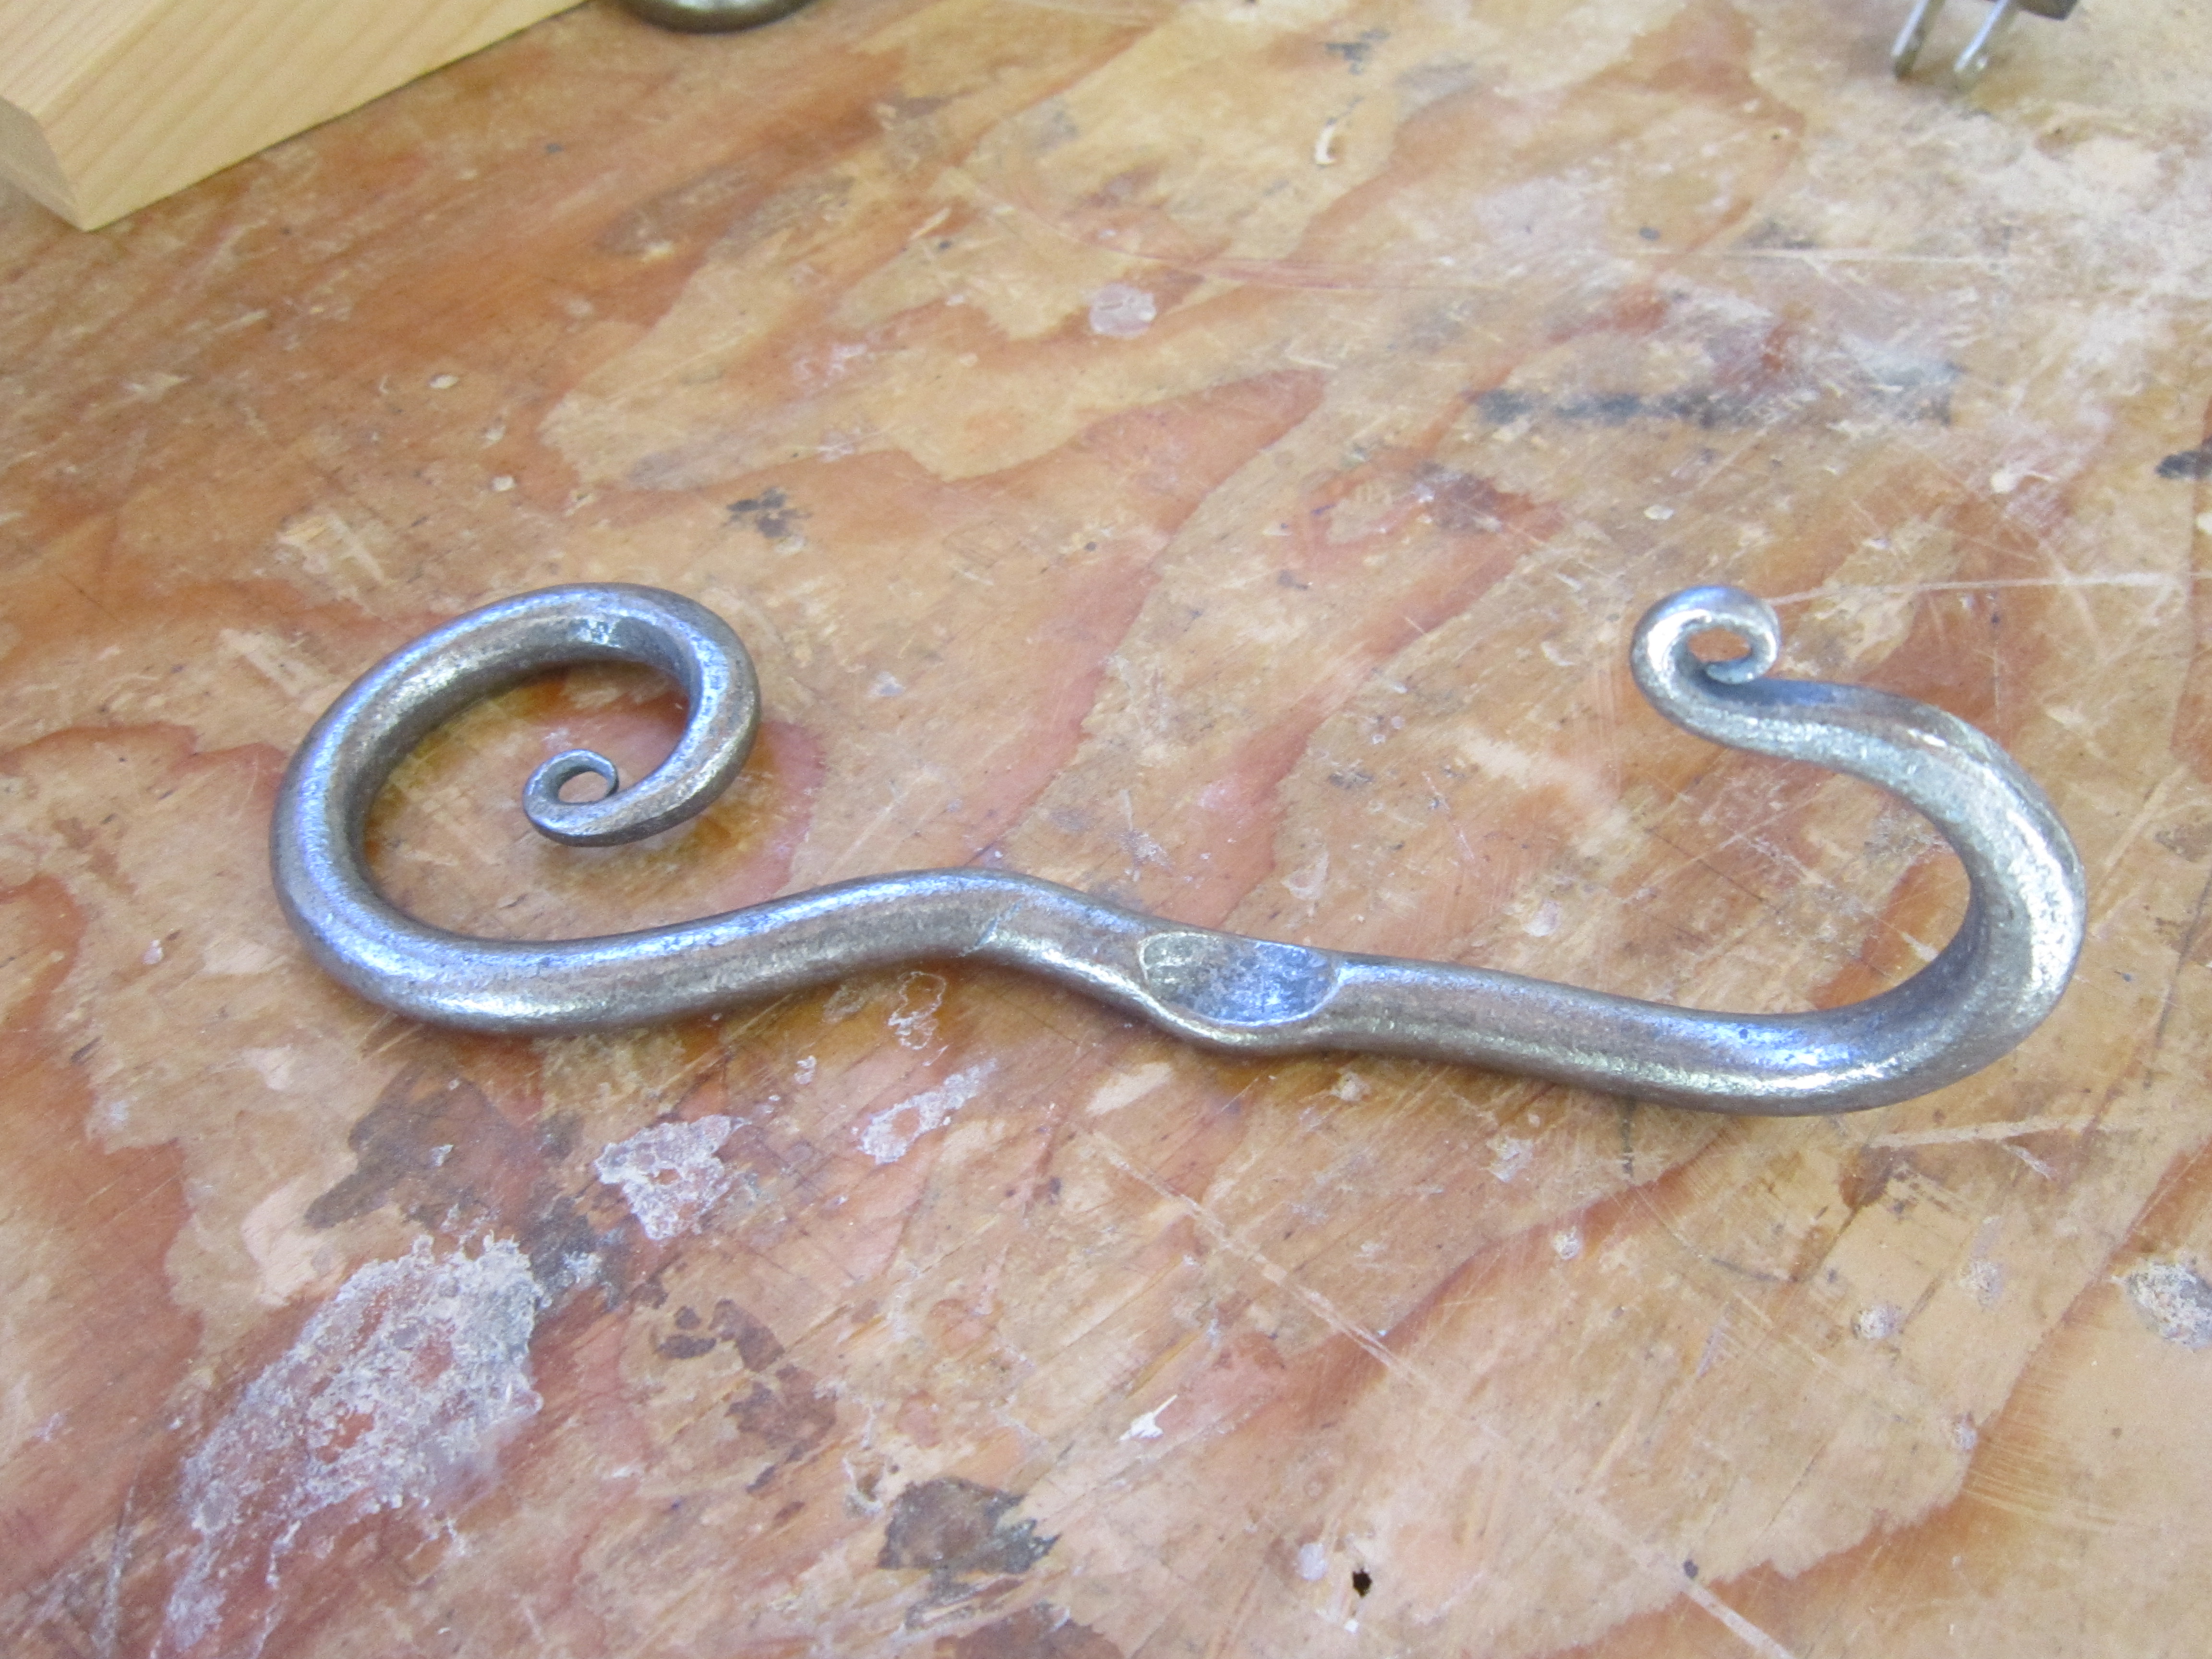
Recently I signed up for a blacksmithing course. I have been interested in metal working for a while now and this turned out to be the perfect opportunity to dive into this craft. I took the class in the fully…
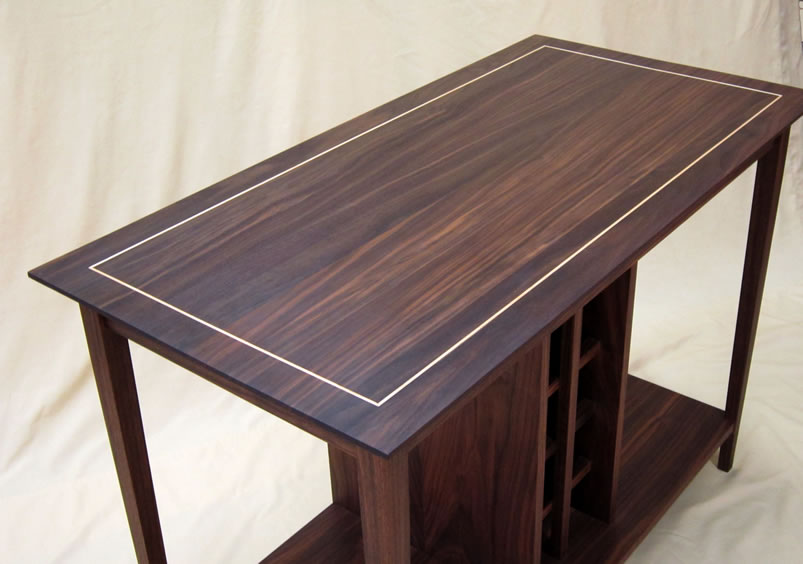
Adding an inlay to the top of this sideboard creates a focal point to draw the eye to the beautiful grain detail of the black walnut. Light coloured maple wood used for the inlay contrasts strongly with the walnut and makes a striking impression.
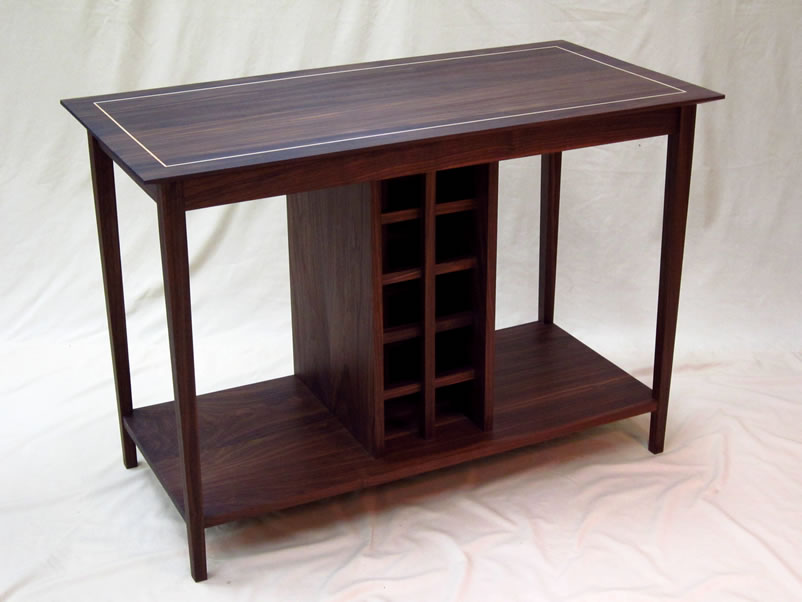
It’s like magic to me the transformation that occurs when a tree is honoured by creating a piece of lasting beauty from its wood.
I prefer to use solid wood for furniture rather than veneered plywood. Solid wood has a richer feeling and a harmonic essence. It is a joy to work with the grain of each individual piece of wood, responding to its structure and at the same time coaxing it into a certain form.
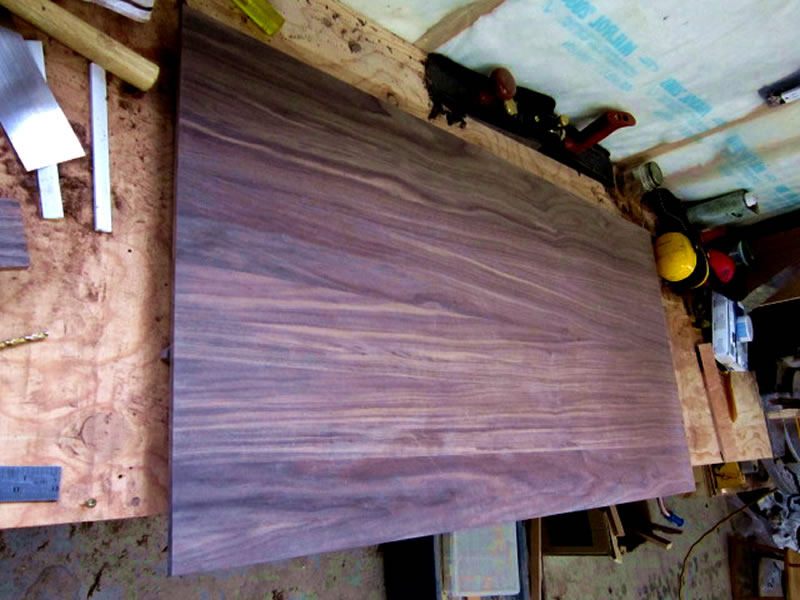
To create the flat top of the kitchen sideboard, I found and cut long pieces of the raw black walnut and assembled them so that the grain of each piece compliments each other.
Once the walnut is oiled, it will really show all the colour variations in the grain. Along with dark brown and a medium colour, purple also streaks through the wood, and this is accentuated once the wood is finished. I will also be putting a very light coloured inlay into the top of the sideboard with maple wood.
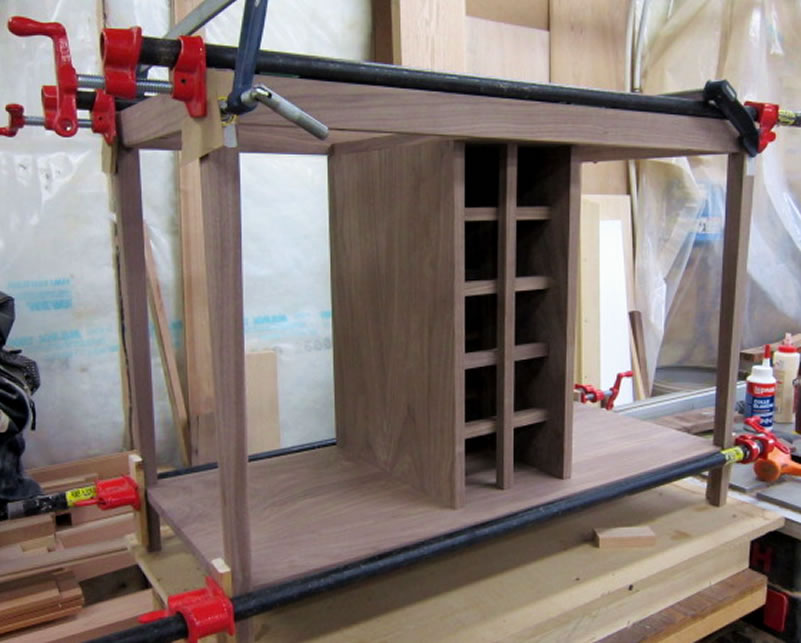
Once the individual pieces of the sideboard are cut, they get assembled, glued, and clamped. The wine rack style was adapted from an antique sideboard I saw in a photo, and the customer requested that I leave room on either side of the wine rack for storing her large mixer and food processor.
The next step is to create the top for the sideboard, and I am excited to work with the beautiful grain of the black walnut and give it some special detailing that will make it pop.
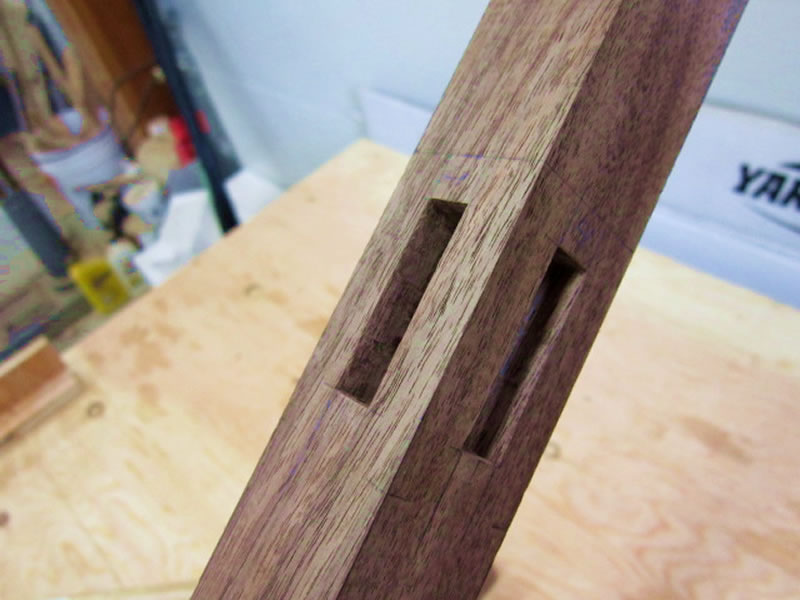
The leg of the sideboard shows the mortises that will receive the apron tenons and give the sideboard strength and durability. There will also be a lower shelf connecting the four legs that increase the stability of the piece.
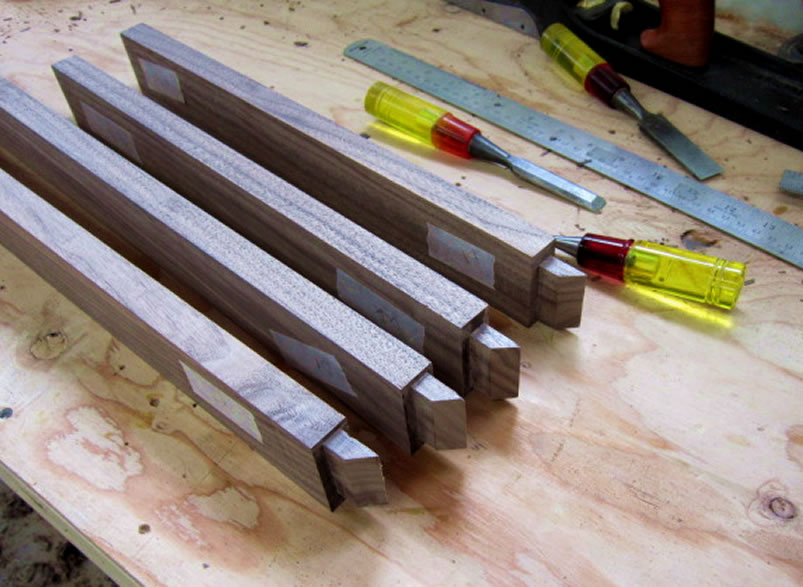
The apron of a table or sideboard creates the stability for the legs where they connect to the flat top. In order to maximize the strength of the joinery on this sideboard, I cut the apron pieces with longer tenons mitred at 45 degrees so that they will meet each other inside the legs and allow more surface area for the glue up.
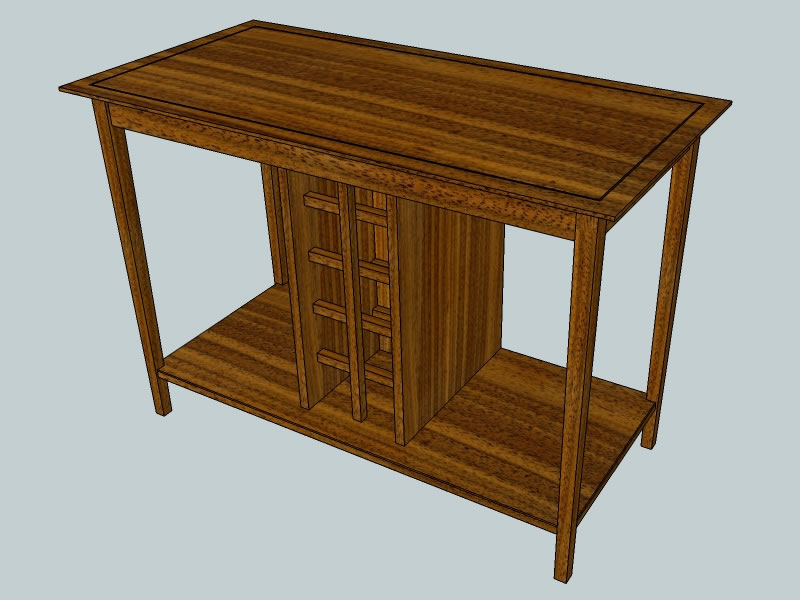
I will be taking the black walnut boards from the last blog post and building this kitchen sideboard with them. It always feels a bit like magic to me every time I start with pieces of raw wood and begin crafting them into a totally new creation. Furniture making is both exciting and challenging, because the work is so delicate and intricate.
Keep watching my blog over the next few weeks to see this sideboard begin to take shape.