Author page: raina

Tiny House – On The Move

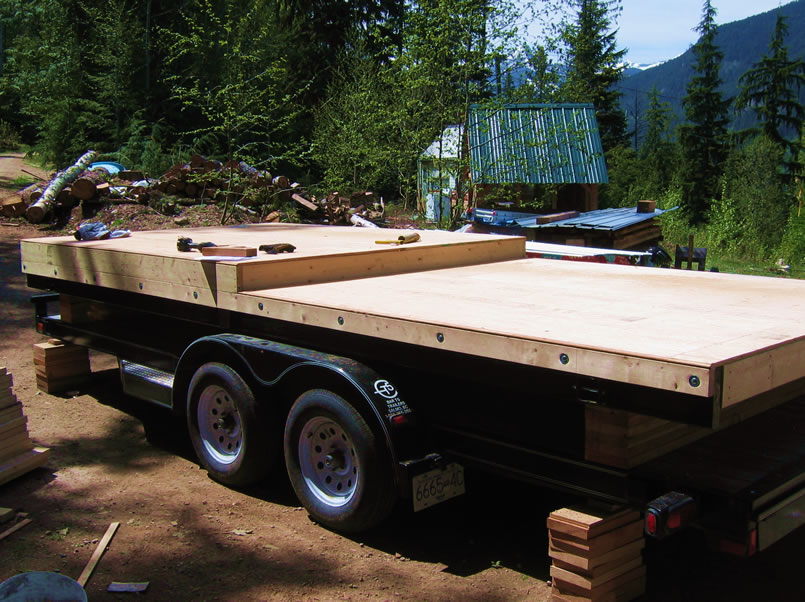
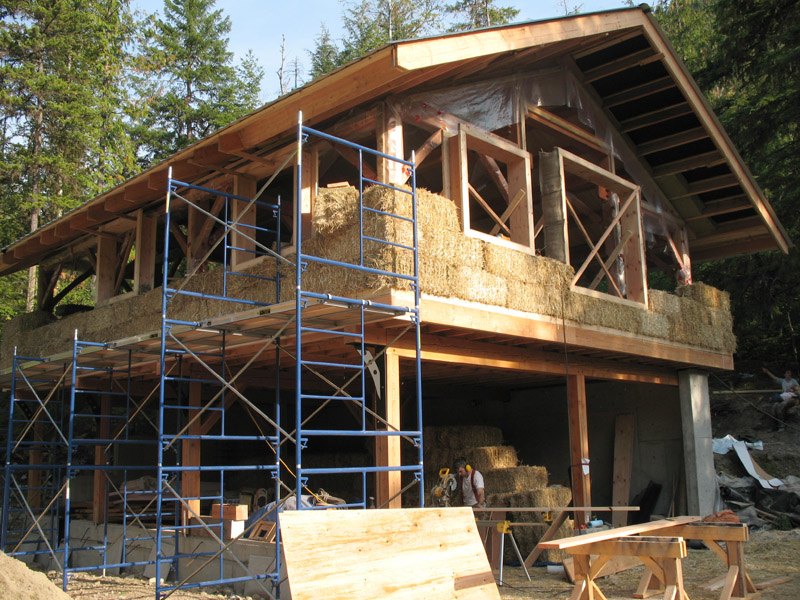
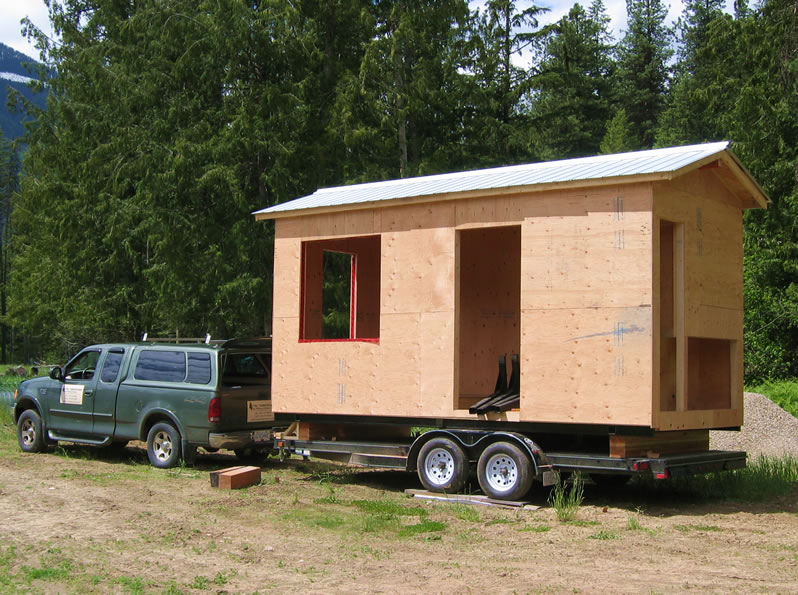
Seeing the frame of this tiny house being pulled by our truck helps put the size in perspective. As people learn more about the true cost to our planet of building, heating, cooling, and cleaning a large house, a tiny house becomes much more attractive!

The owner of this house will be living in 144 square feet with her four legged canine friend. And the lower cost of building and maintaining this house will allow her to significantly reduce her need to work for an income. If we are waiting for retirement to follow our dreams because we need to stick to a 9 to 5 job just to pay the mortgage, is there another way?

learn more

Tiny House – Portable Foundation

Besides the incredibly low cost for building and heating, this tiny house is easy to move, which is a primary reason why the owner chose this style. This tiny house was custom designed to suit the owner’s needs, and the foundation for the house is a steel frame that was fabricated locally. Jacks fit into each of the four corners, so the frame can be raised and set onto a flat bed trailer for transporting it.

learn more

The Wa of Hand Tools

“The Japanese word wa is a single kanji meaning ‘harmony; peace; peaceful.’ In common usage wa means ‘harmony’ as in being in harmony with one’s environment and it means “peaceful” as in being in a peaceful state of mind or feeling at peace.” ~Eri Takase

People keep asking me why would I use hand tools to cut this timber bed? It takes longer, involves more physical endurance, and the amount of precision necessary is astonishing.

My simple answer is the Japanese feeling of wa, or harmony, that I feel while working with hand tools.

learn more

Japanese Wedged Through Tenon

I really enjoyed this bed project, as I was able to take some of the aspects of Japanese timber joinery and adapt them to the smaller scale bed frame. Since training with Dale Brotherton, I’ve fallen in love with Japanese timber architecture, so it was a pleasure to craft a bed with this style as the inspiration.

The wedged through tenon shown here is part of the headboard of the bed. The “posts” of the headboard have tenons at the top that slot all the way through the mortises of the “beams”.

learn more

Radiant Floor Heating

Radiant hydronic floor heat is a heating system that runs hot water through tubing that is embedded in an earthen floor or a poured concrete floor. The heat from a hydronic floor radiates up into the furniture and the feet of the occupants, so the room feels comfortable even at lower operating temperatures. This photo shows a coloured concrete floor being poured.

In the book “Prescriptions For A Healthy House”, Paula Baker-Laporte, Erica Elliott, and John Banta recommend not using copper tubing, as was previously common, because it can conduct electromagnetic fields through the structure if it becomes charged anywhere along its route. Instead they list two types of odorless polyethylene tubing for use with hydronic floor heating systems.

learn more

Radiant Floor Heat Tubing

Savings on utility bills and better indoor air quality are just two of the benefits of radiant floor heat systems. The heat from a radiant floor creates warmth that “radiates” into everything it touches – including furniture and your feet – making everything feel warm and cozy.

The radiant heat tubing for this project was laid 9″ apart, which will accommodate several heat source systems, including a heat pump for geo thermal or a boiler (electric or gas). You can also use the water jacket on a wood stove to heat the water in the tubing. The other advantage to having the tubing a little closer together is that there are no pronounced hot or cold spots in the floor.

learn more

Exterior Clay Slip

After the baling was done, we shaped the walls using a large weed whacker for rough shaping and the Lancelot for fine detail shaping. Having the bale walls fairly smooth and plumb will make the plastering much easier later on.

It’s possible to achieve beautiful finish plaster on top of undulating bale walls, but it is a lot more work and uses a lot more plaster, which involves extra labour and cost. No one wants that. It’s much better to take the time to even out rough spots on the wall at this stage.

learn more

Lancelot

Here is Raina using a Lancelot tool on a bale wall. Notice the important safety helmet and earmuffs. Good job, Raina!

The Lancelot is actually a small chain saw, so it’s not a joke about using safety gear. These are great tools for carving out channels in the bales for electrical wiring or for installing I-beams.

learn more

Finished Stacking

A standard wall consists of bales stacked seven courses high. Going any higher than this requires extra stabilizing measures to ensure that the wall will not bow.

The peaks of the gable ends in this house ended up being eleven courses high, so we built a wooden I-beam and installed it on top of the seventh course, securely attaching it to the timber frame structure. We then stacked the bales in the triangle of the gable on top of this I-beam, which added the necessary structural rigidity to that section of the wall.

learn more

Stacking the Bales

Oh, the joy of stacking bales! It goes so quickly at this stage that everyone in a work party gets excited and everything flows really well. Getting a good system going to ensure there are people busy on each wall as well as a few people making custom bales for around window or door bucks is important to keep up this fast pace.

The work party on this part of the baling consisted of about 5 to 10 people at any time of the day, and the main part of the baling was done in about a day and a half.

learn more

EH