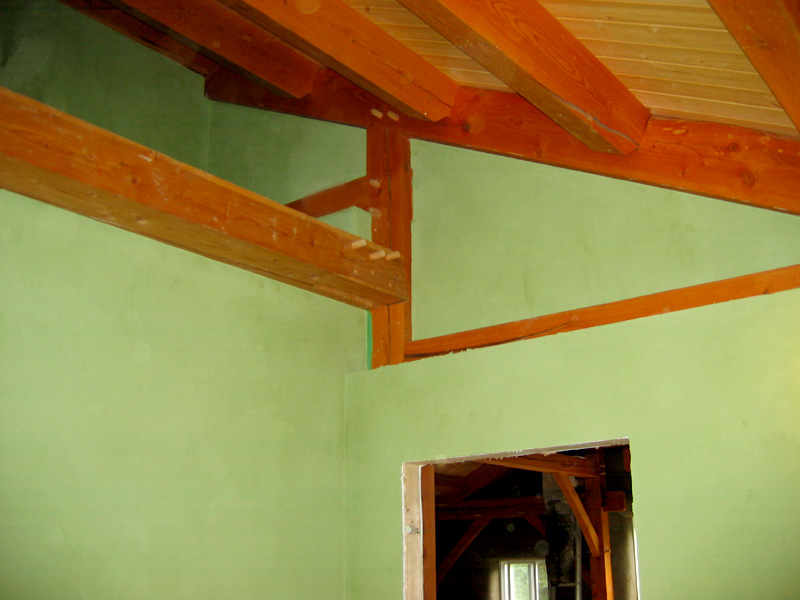
The shine in this alis coat is achieved by adding mica to the mixture instead of silica sand as the aggregate. The mica reflects light, and different sizes of mica in the alis paint will give different results.
Flakes of mica in the alis coat look almost like irridescent fish scales scattered throughout the paint. Finer ground mica in the alis coat will sparkle in the light. The effect over a whole wall or room is stunning.
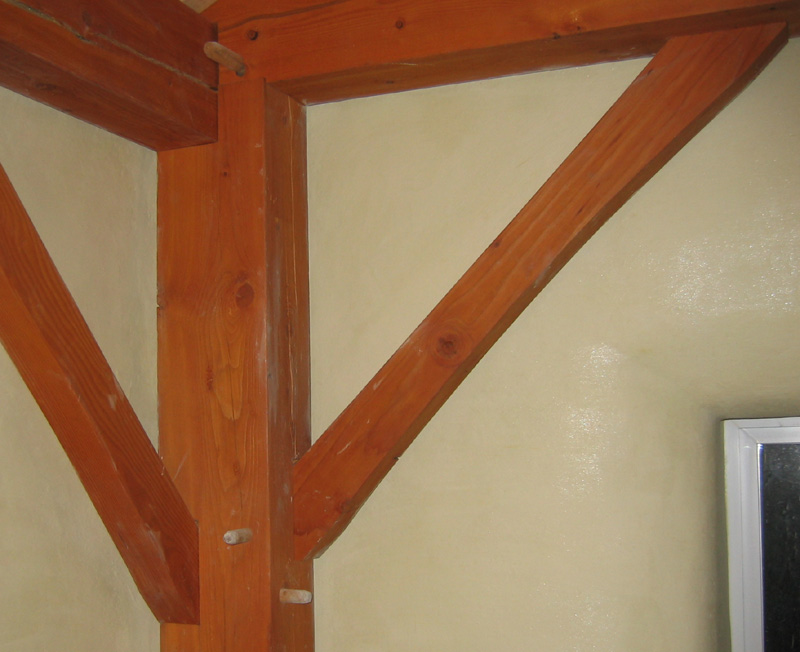
The plaster doesn’t butt up to the timbers but goes behind them and meets with 2x4s that were nailed to the exterior of the timbers prior to the straw baling phase. Where the plaster meets wood, it can crack slightly and pull away from the wood with fluctuations in humidity. We wanted any cracks to happen behind the timbers where you wouldn’t see them. Because of this, applying the alis posed a challenge, as we needed to paint behind all the timbers and braces.
We used portable cardboard masking and much smaller brushes with long handles to get behind the timbers and braces. Any alis that got onto the timbers by accident will just rub off with water on a rag. The timbers should be cleaned soon after the alis is finished, not because the paint is permanent, but because as the wood changes colour with UV exposure, it will change differently under any alis on the wood and leave noticeable colour variations.


