TRC Timberworks is now officially a Licensed Residential Builder with BC Housing (formerly Homeowner Protection Office – “HPO”). This means that we can now make it easy for you to build your dream home. On top of the services of…
TRC Timberworks is now officially a Licensed Residential Builder with BC Housing (formerly Homeowner Protection Office – “HPO”). This means that we can now make it easy for you to build your dream home. On top of the services of…

Working with rounds is a lot different than working with square timbers. Layout is completely different: working off of chalk lines and carving the rounds down to square posts at the joinery took a lot longer than just working with square…
The wonderful folks at Mandala Homes asked me to help out with some timber accent details for a home that is being pre-fabricated in Nelson, BC and then shipped and assembled in Hawaii. The cloudlift design cut into the ends of these…
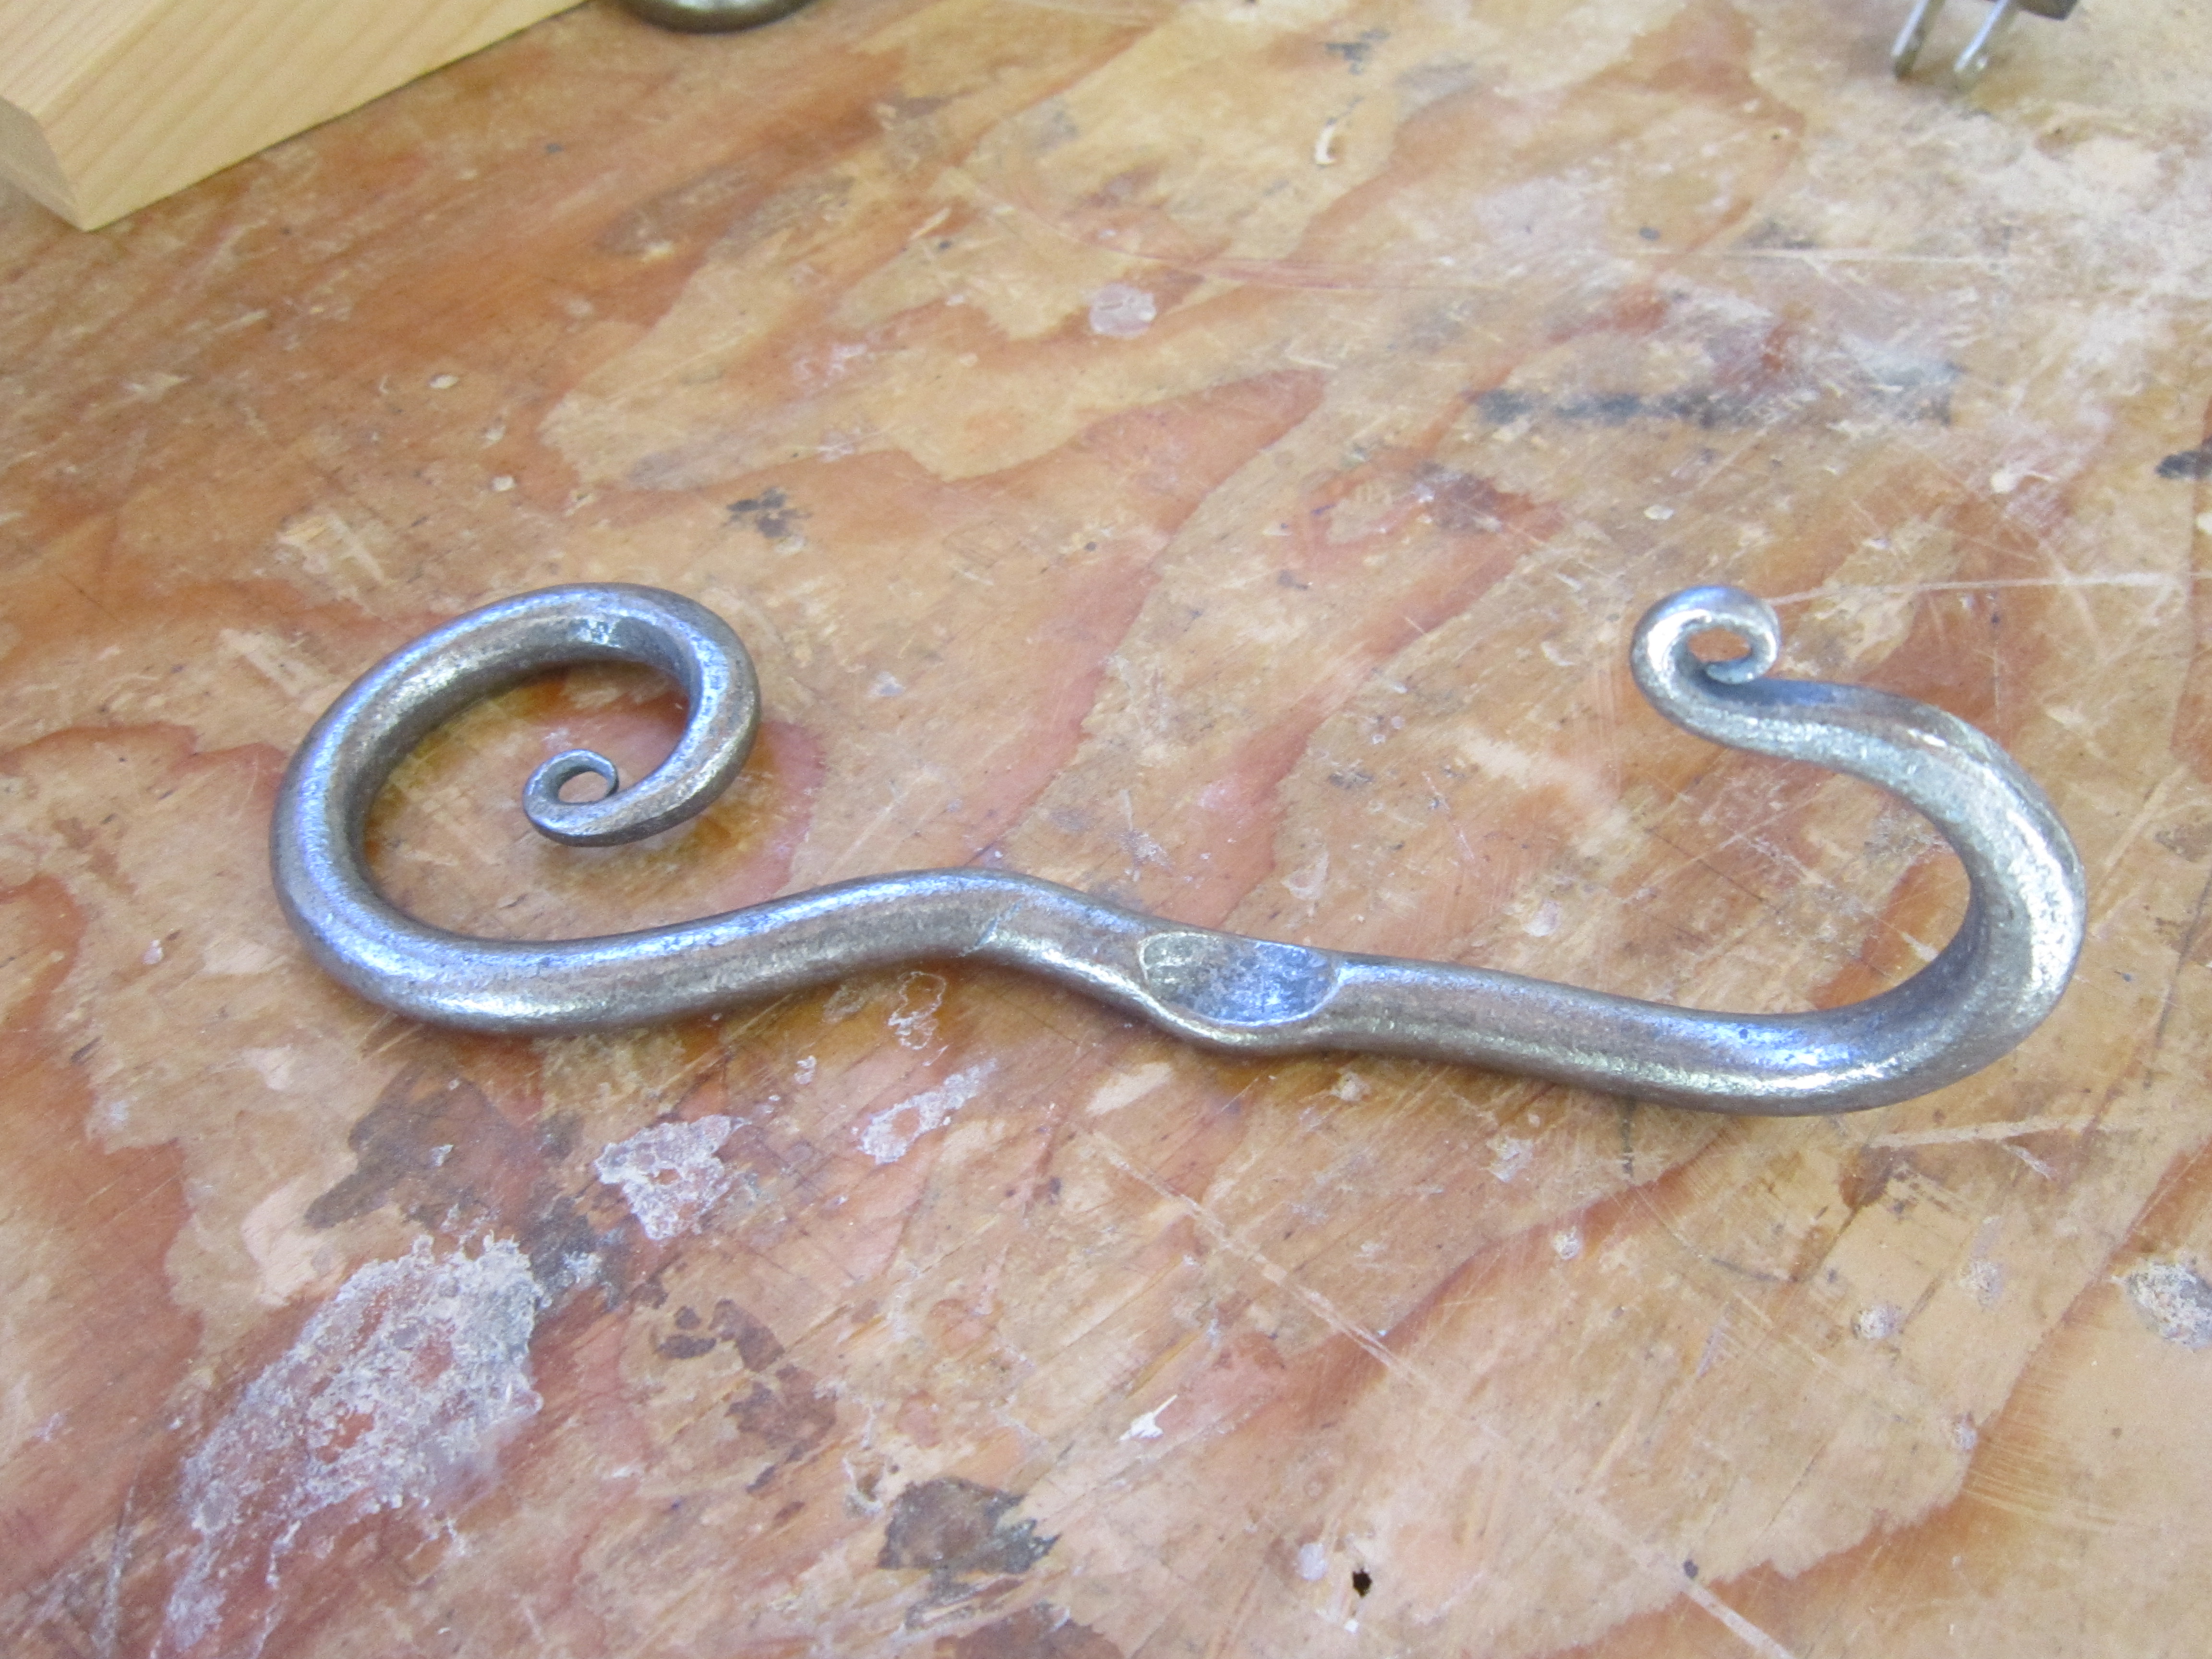
Recently I signed up for a blacksmithing course. I have been interested in metal working for a while now and this turned out to be the perfect opportunity to dive into this craft. I took the class in the fully…
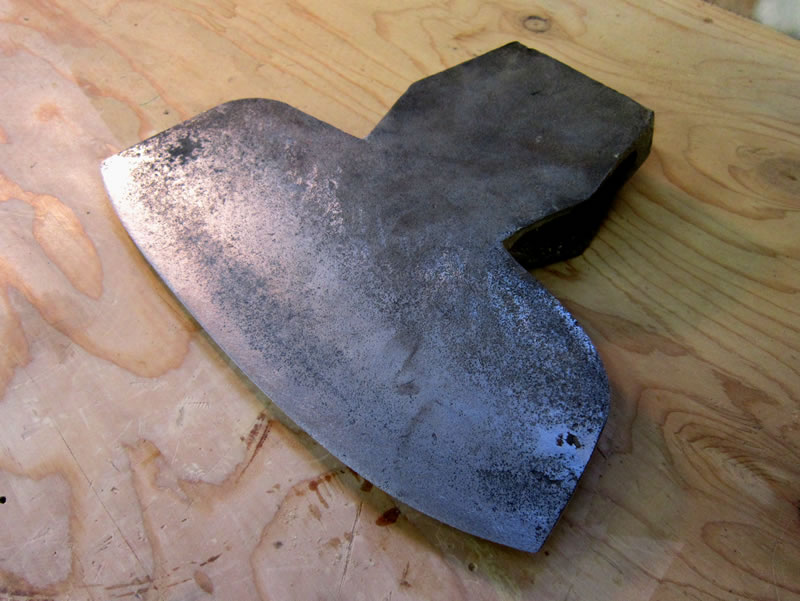
This is the hewing axe head that was used by an older gentleman to hand hew timbers for houses 30 years ago. My passion for hand tools got me excited about seeing if I could remediate this axe head, and the two day vinegar bath plus a wire brush did such an amazing job at taking off the rust.

Here is the old hewing axe head that I found, getting a bath in regular vinegar to remove the rust. I was super surprised with the results!

I’ve been looking around for older hand tools at antique stores and personal sales, hoping I’ll find some gems that I can use for planing or timber framing. I have some of my grandpa’s hand tools that are still in excellent condition; these older tools were made to last.
I found this head for a log hewing axe in the summer. An older gentleman was selling some of his tools, and this was from an axe that he used for timber framing homes 30 years ago. For the price tag of $10, I couldn’t resist (these axes usually run about $350 to $400 new), and I have an idea about how I can bring it back to life.
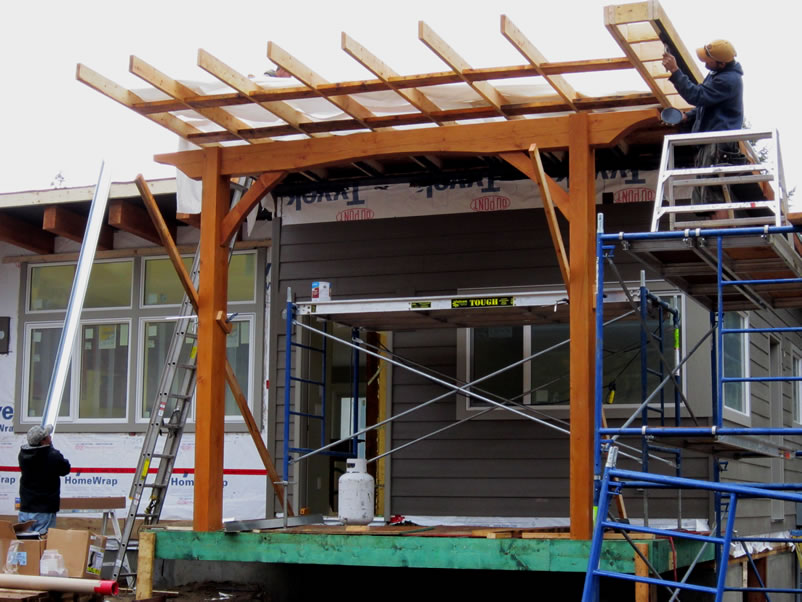
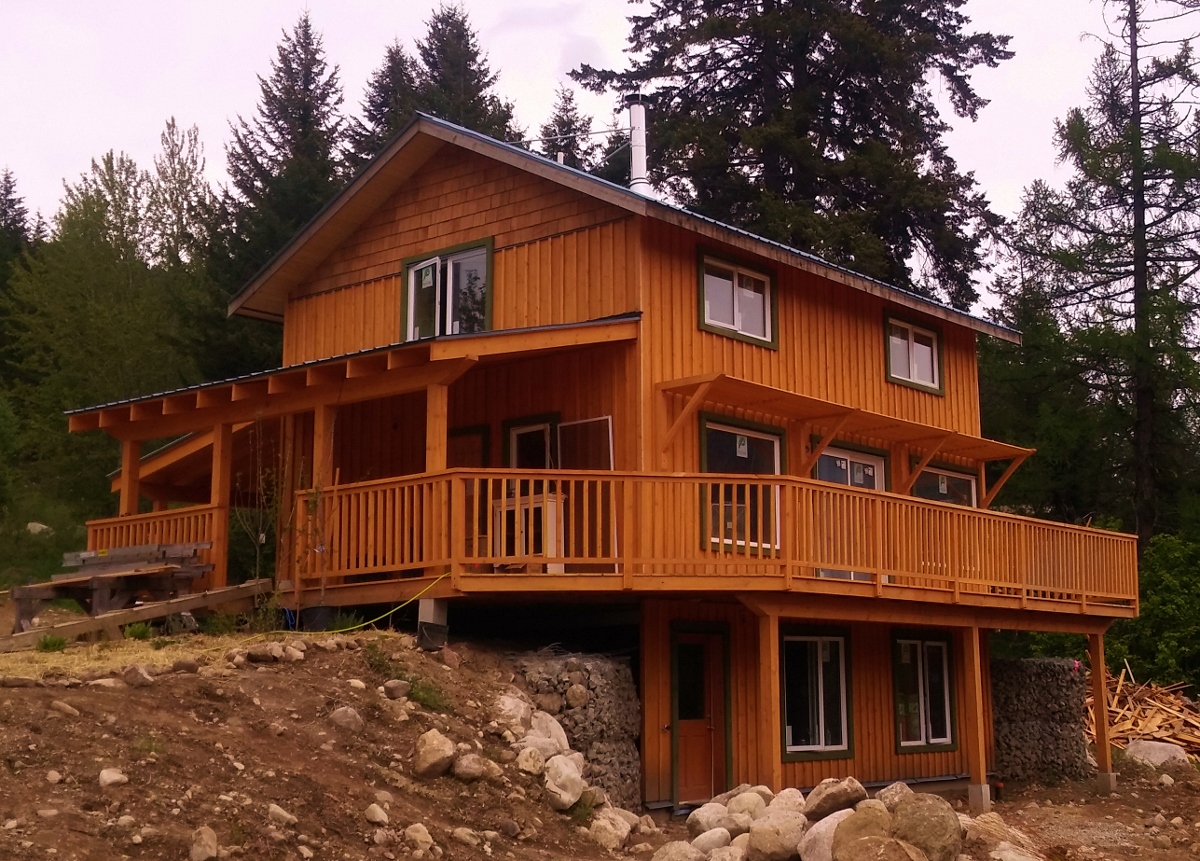
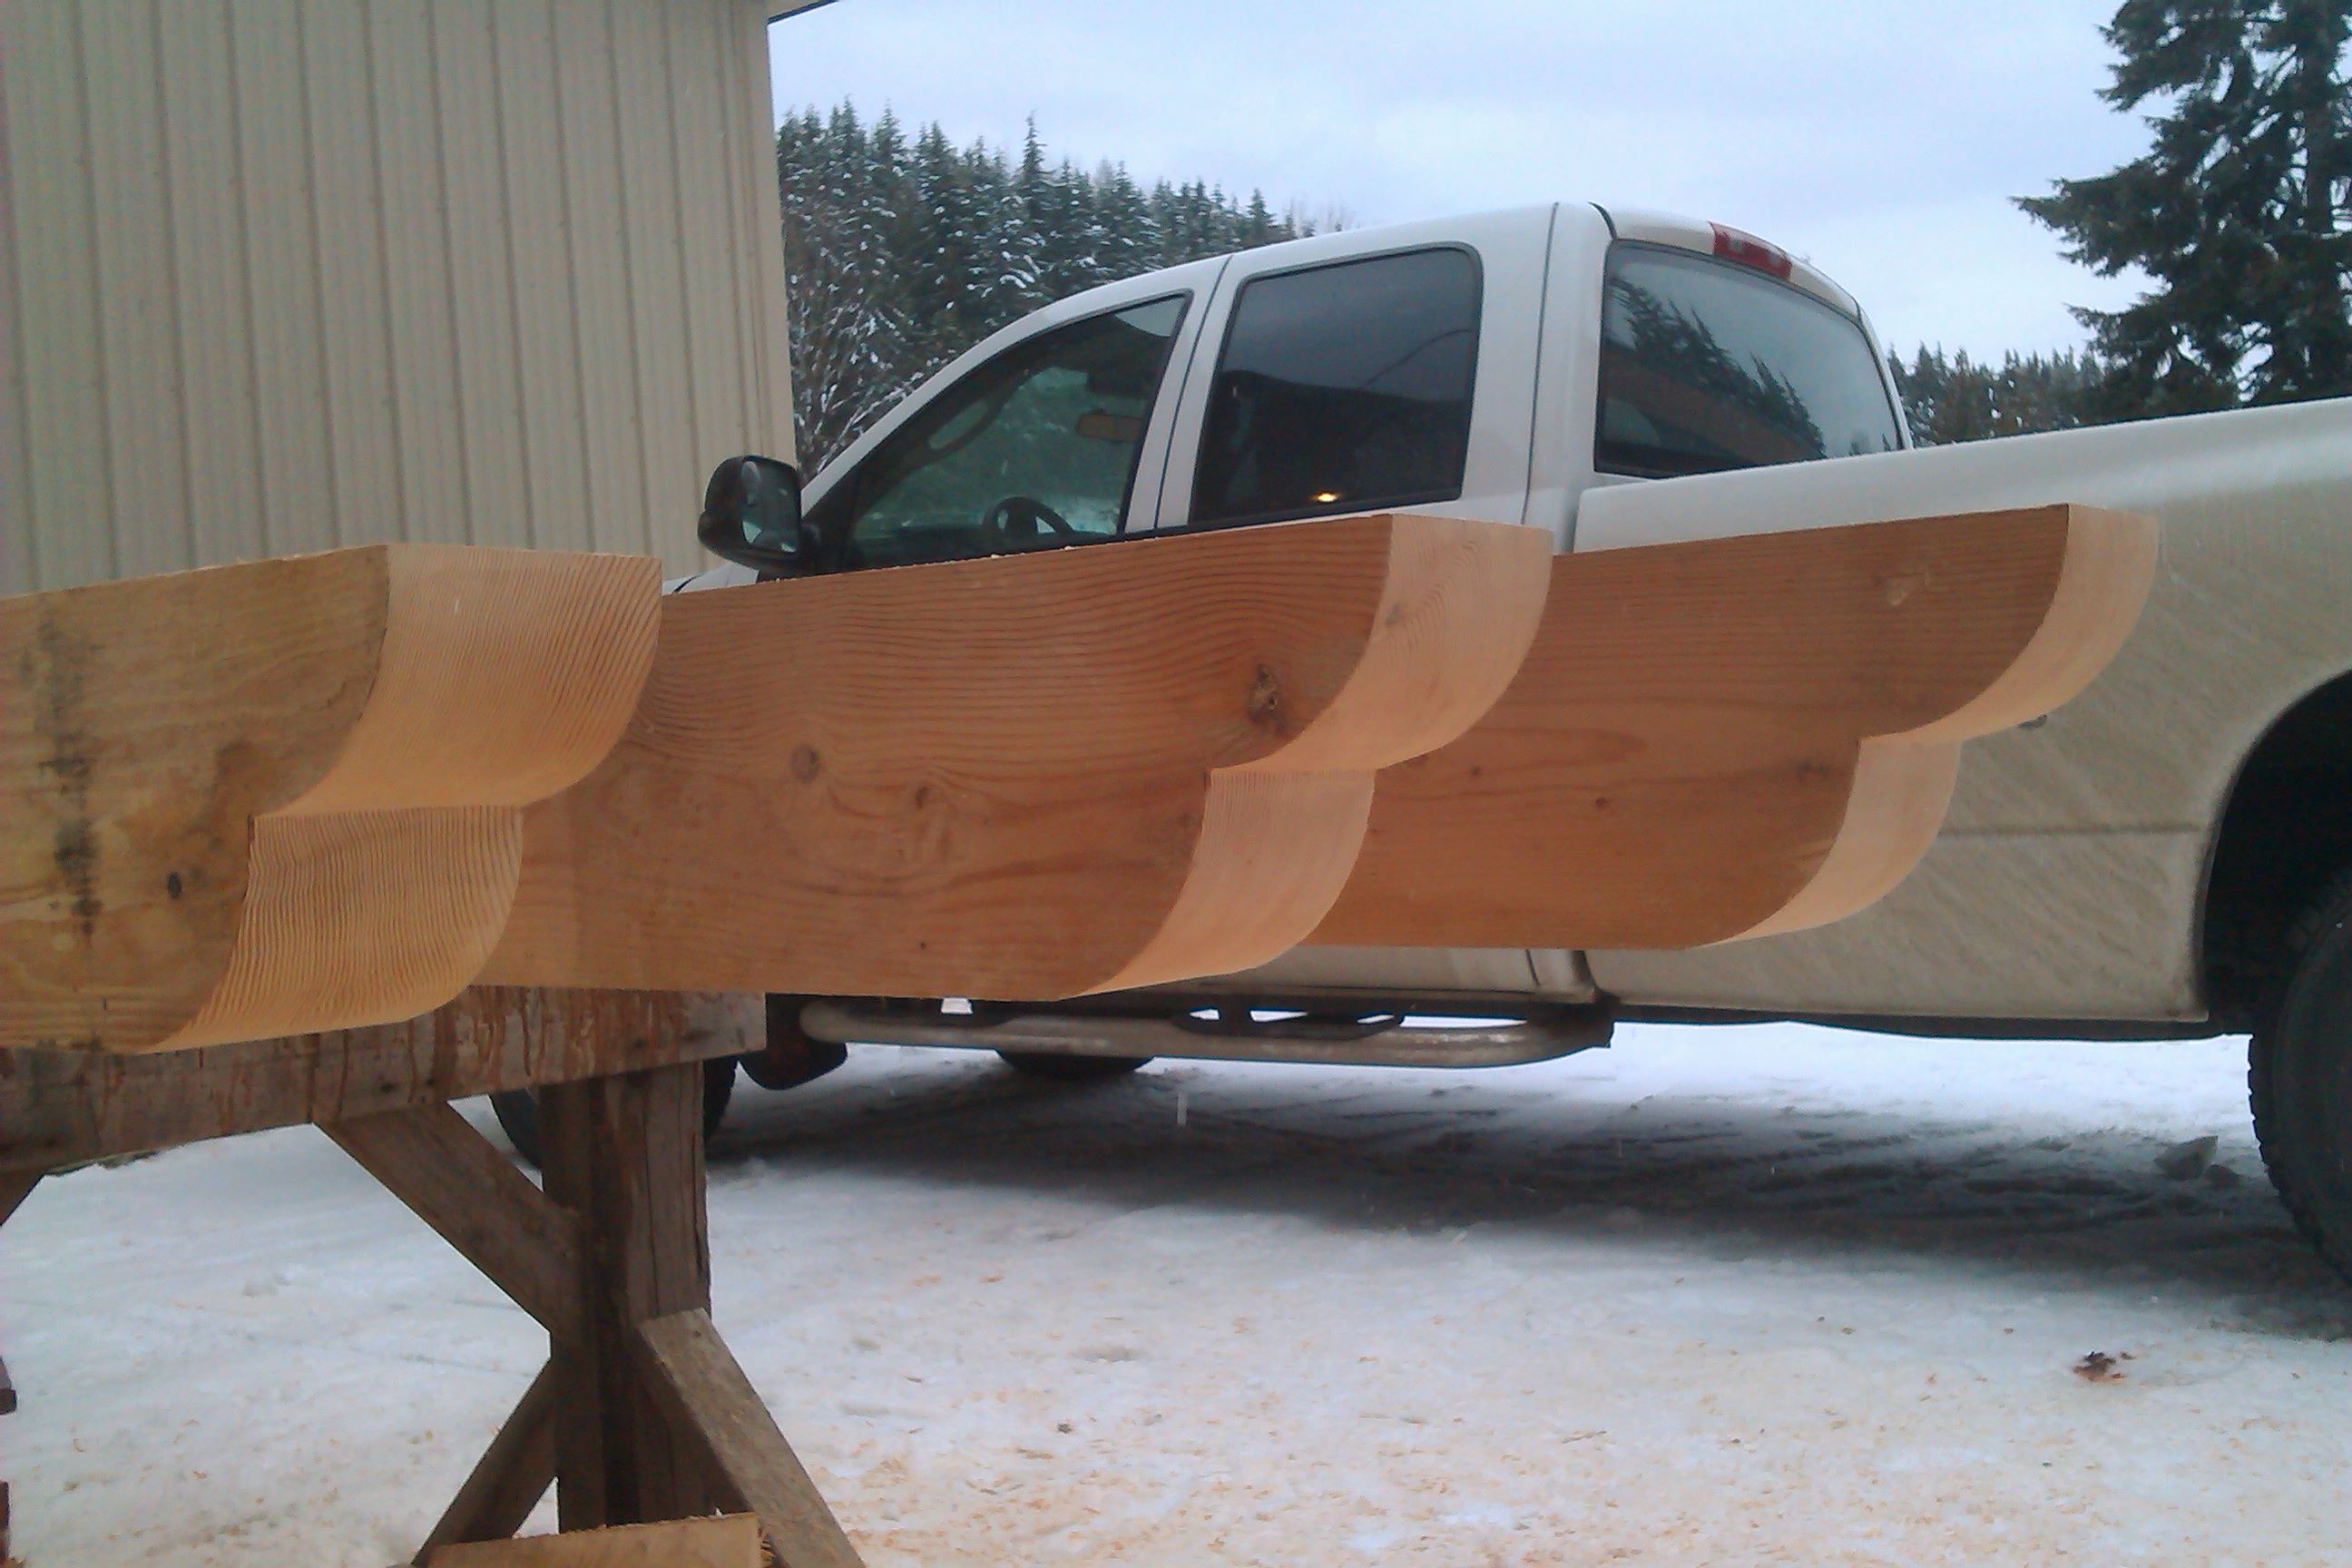
The owners of this new modular home wanted a timber look for their front porch, so they asked me to design and build an accent piece for their porch roof structure. They were really pleased when they saw it go up. It adds a timeless classic element, and the curves cut into the beam and the braces add a softer contrast to the straight lines of the house.
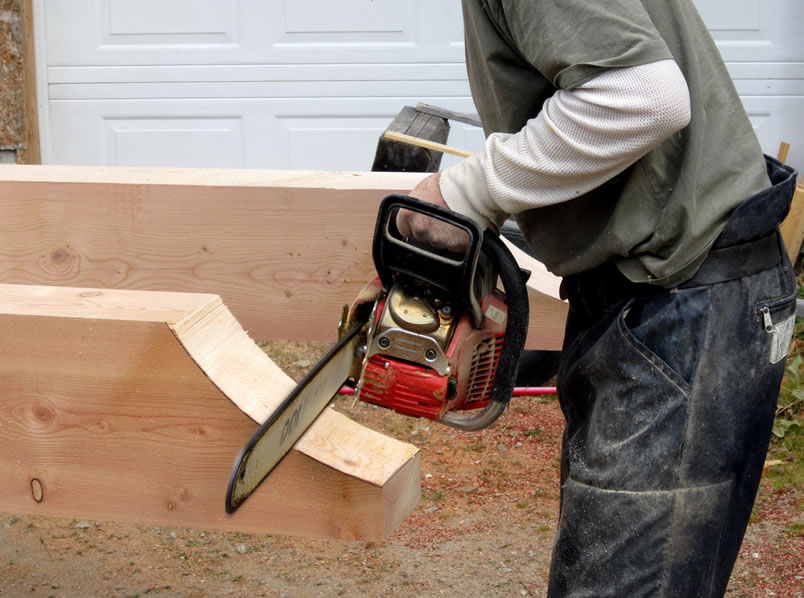
Okay, so it’s not carving, but I did have fun using the chain saw to create the detail work for these beams.
And I have started using an eco-friendly type of small engine gas that cuts down on exhaust emissions by an incredible amount. Running the chain saw now doesn’t stink and create a cloud of fumes. Apparently this gas is standard for small engines in Europe — and I can see why! Time for North America to catch up on this one. Check out: www.aspen.se (Select your country for English language.)
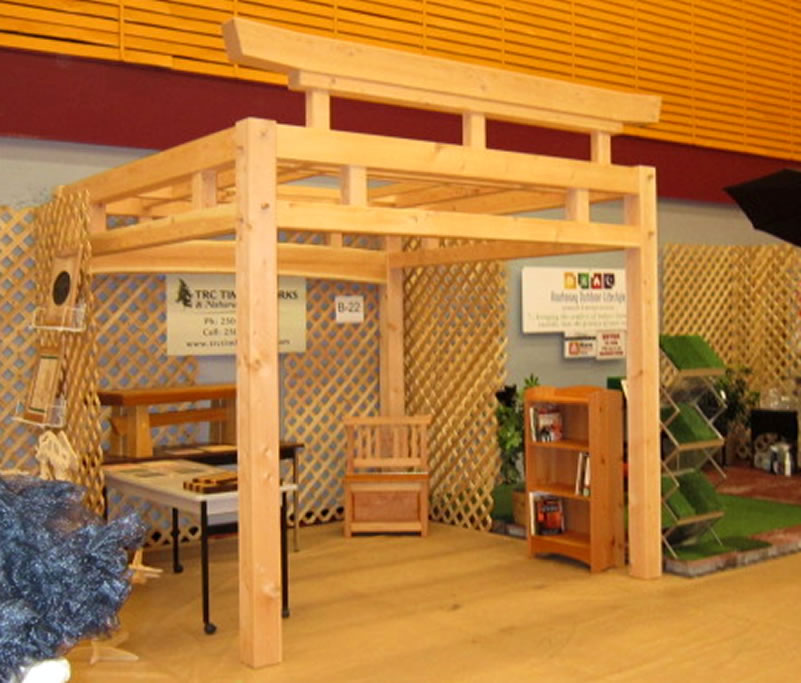
To show something a little different at this year’s Home & Lifestyle Expo in Castlegar, British Columbia, I decided to frame a Japanese style timber pergola. The front of the frame was inspired by Japanese Torii Gates, which mark the entrance to Shinto shrines and indicate that you have entered a holy place where the spirits are more likely to hear your prayers.